BakerJohn
Baker, Modeler, future husband
As some of you may recall, shortly after I bought my Toby the Tram, I also bought a Bachmann G Scale Annie (of Annie and Clarabel). I had always intended to turn Annie into Henrietta to go with Toby. After a couple false starts, I am finally well under way.
When I first bought the car in 2019, I removed the face (sanding down the nose), took out the window glazings, and fabricated metal grab rails. I'd actually planned to build a Victoria instead of Henrietta, at this point. After really really poorly painting the existing roof, I set the project aside for years.
When I returned to the car lately last year, this is what it looked like (minus the 3 holes, which I drilled right before I took this photo.

These holes were the beginning of removing the plastic from the filled in window cavities.
After that, I cut the ends off the car, and started filling in the detailing I didn't need.

I'd hoped that I'd be able to use the existing floor, which is why I cut it awkwardly. I also filled in below the windows with styrene.
Again the project sat for a while, but after I built myself a proper workbench, I have been able to put energy into actually completing some stock projects, including this one.
Another false start, the way I cut the body and the way I added styrene didn't work for Henrietta's prototype. So, off it all came. Forward 2 steps, back 1.
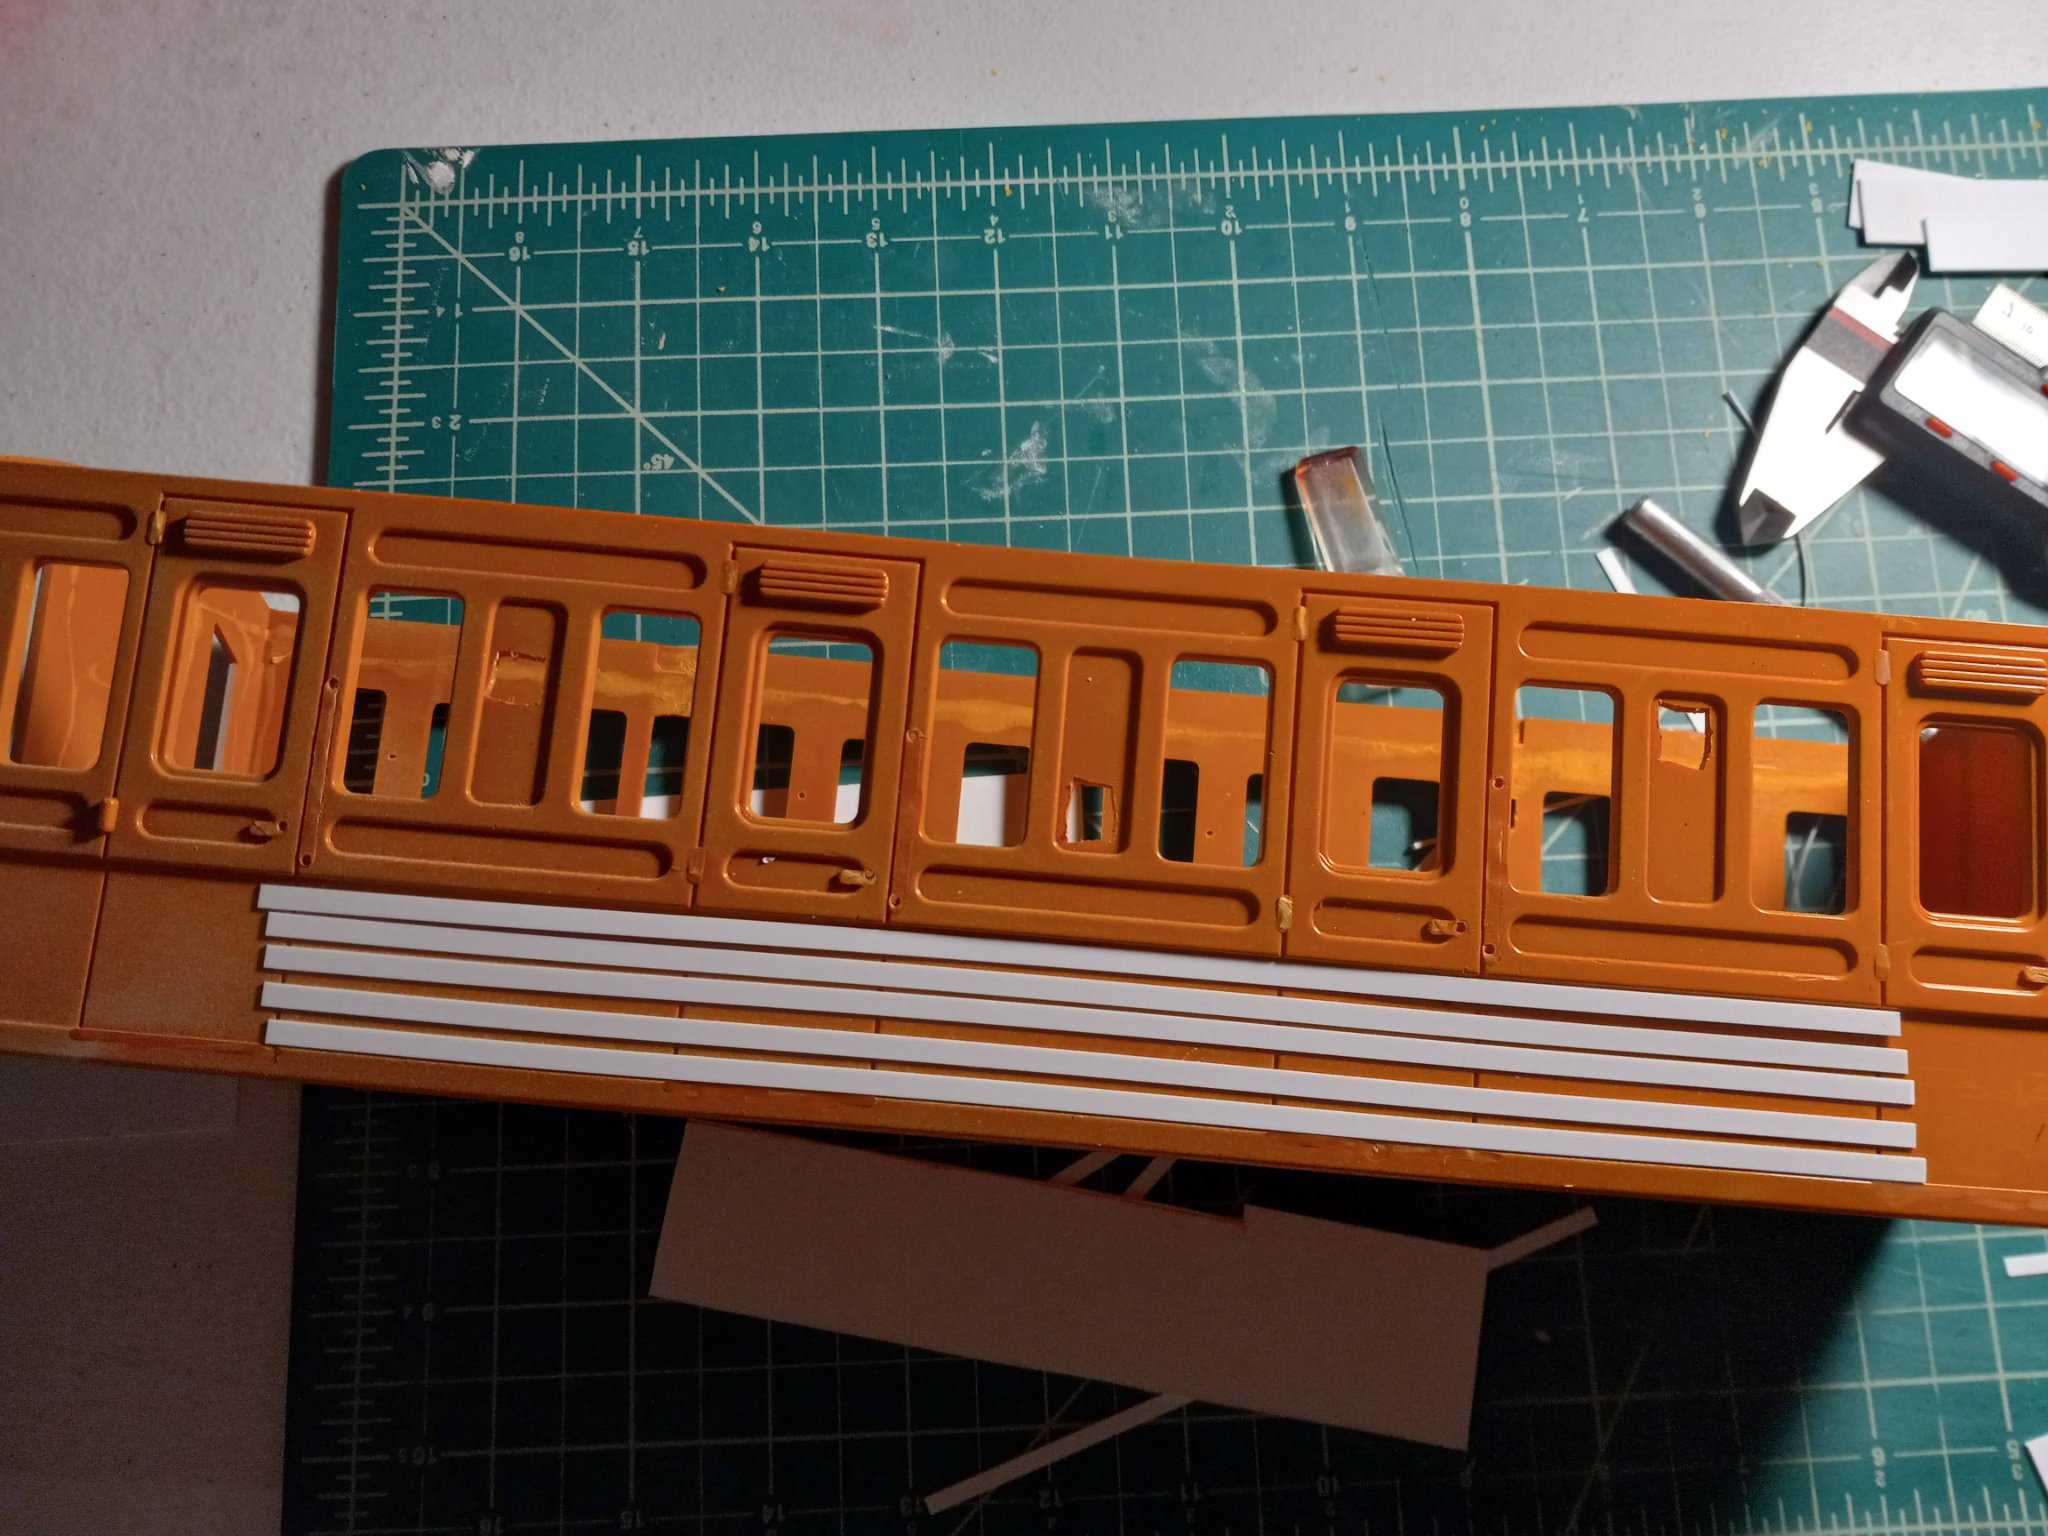
Next, I needed to start properly filling in all the little groves and such with plastic putty. I also re-added the styrene at the bottom of the body, but I did it differently to account for the slight curve that many British passenger cars seem to have. I also had to fill out two of the four ends because I cut too close to the windows.


And now we are up to speed. This is what I did yesterday...
I switched my focus to the chassis of the car. I always hoped I could find a way to remove the buffers and hooks from each end so I could repaint it all. Well, I did. But, I had one casualty in the process and actually damaged all the buffers.
Next, the ends needed floors. So, I cut those from styrene. and test-fit everything. Looks pretty good!
Though I didn't take any photos, I also test fit the roof and body ends and cut into the underside of the roof so it all fits together.


And finally, today:
I woke up very early this morning, even for a baker. Couldn't sleep. So, I got to work.
I started working on the details of the ends; windows and doors. The main piece is cut from a 1mm piece of sheet styrene. I cut the door from the piece, then detailed and re-glued it in place, using Xacto blades as spacers to set is back about .5mm.


I have also begun work on the stairs and cutting off the excess plastic on the sides of the chassis (which you can sort of see in the last photo).
I'm eating breakfast as I write this, but I will have more updates later. Let's see how far I can get today!
P.S. I am using reference photos from the prototype, Rev. Awdry's original stories, and his models. I have a few reference photos on my Henrietta page of my website.
When I first bought the car in 2019, I removed the face (sanding down the nose), took out the window glazings, and fabricated metal grab rails. I'd actually planned to build a Victoria instead of Henrietta, at this point. After really really poorly painting the existing roof, I set the project aside for years.
When I returned to the car lately last year, this is what it looked like (minus the 3 holes, which I drilled right before I took this photo.

These holes were the beginning of removing the plastic from the filled in window cavities.
After that, I cut the ends off the car, and started filling in the detailing I didn't need.

I'd hoped that I'd be able to use the existing floor, which is why I cut it awkwardly. I also filled in below the windows with styrene.
Again the project sat for a while, but after I built myself a proper workbench, I have been able to put energy into actually completing some stock projects, including this one.
Another false start, the way I cut the body and the way I added styrene didn't work for Henrietta's prototype. So, off it all came. Forward 2 steps, back 1.
Next, I needed to start properly filling in all the little groves and such with plastic putty. I also re-added the styrene at the bottom of the body, but I did it differently to account for the slight curve that many British passenger cars seem to have. I also had to fill out two of the four ends because I cut too close to the windows.


And now we are up to speed. This is what I did yesterday...
I switched my focus to the chassis of the car. I always hoped I could find a way to remove the buffers and hooks from each end so I could repaint it all. Well, I did. But, I had one casualty in the process and actually damaged all the buffers.
Next, the ends needed floors. So, I cut those from styrene. and test-fit everything. Looks pretty good!
Though I didn't take any photos, I also test fit the roof and body ends and cut into the underside of the roof so it all fits together.


And finally, today:
I woke up very early this morning, even for a baker. Couldn't sleep. So, I got to work.
I started working on the details of the ends; windows and doors. The main piece is cut from a 1mm piece of sheet styrene. I cut the door from the piece, then detailed and re-glued it in place, using Xacto blades as spacers to set is back about .5mm.


I have also begun work on the stairs and cutting off the excess plastic on the sides of the chassis (which you can sort of see in the last photo).
I'm eating breakfast as I write this, but I will have more updates later. Let's see how far I can get today!
P.S. I am using reference photos from the prototype, Rev. Awdry's original stories, and his models. I have a few reference photos on my Henrietta page of my website.


")
") .
.