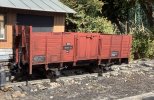
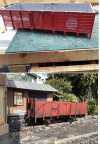
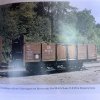
In my ever increasing quest for something a little more like what could be seen in East Germany on the Selktalbahn back in 1981 I came across this interesting variation with a raised end.
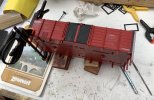
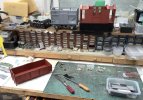
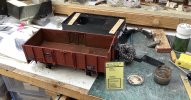
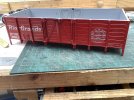
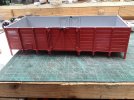
Some time back I bought this open from Gizzy, it came as a Bogie Wagon but that was swopped over from a 4 wheel coach that should have had a bogie. The lettering was removed with a fibre pen leaving the open as shown below.
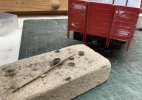
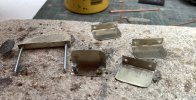
Part of the work was also to make the door a metal one so this was attended to first. Part of that process also required some rivet removal.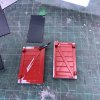
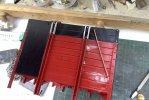
Plasticard overlays were cut out of 20 thou plasticard to size with some supports to match where the cross beam was still present so that the metal simulated doors could be 802’d on.
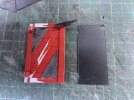
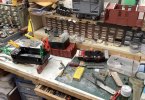
Having glued the metal pieces on I then cut more 20 thou plasticard into thin strips to represent the frames.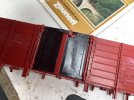
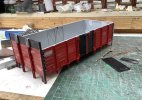
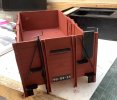
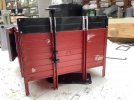
Next up was the raised end cut from some 50-60 thou plasticard. Raised U channel has also been added to the top as have Fake Rivets for the ever useful Cambrian bits N bobs. The Handbrake is a test of something lurking in the bits box but should be a lever rather than a wheel. I also need to add some more flat to represent ribbing on each side with rivets then we may be ready for the paint booth. Oh yes the original handrail holes have been filled to recieve some hand made ones. Also plasticard overlays on the end strapping once the rivets were removed. Need to donthat on the other end as well then add a new bit to the side with Cambrian Rivets.
After that Wagon Labels and the all important Wagon Card will be required plus put the body back on its 4 wheel chassis then it will be ready to enter service on the Flourspar Circuit.

Some time back I bought this open from Gizzy, it came as a Bogie Wagon but that was swopped over from a 4 wheel coach that should have had a bogie. The lettering was removed with a fibre pen leaving the open as shown below.


Part of the work was also to make the door a metal one so this was attended to first. Part of that process also required some rivet removal.

Plasticard overlays were cut out of 20 thou plasticard to size with some supports to match where the cross beam was still present so that the metal simulated doors could be 802’d on.

Having glued the metal pieces on I then cut more 20 thou plasticard into thin strips to represent the frames.

Next up was the raised end cut from some 50-60 thou plasticard. Raised U channel has also been added to the top as have Fake Rivets for the ever useful Cambrian bits N bobs. The Handbrake is a test of something lurking in the bits box but should be a lever rather than a wheel. I also need to add some more flat to represent ribbing on each side with rivets then we may be ready for the paint booth. Oh yes the original handrail holes have been filled to recieve some hand made ones. Also plasticard overlays on the end strapping once the rivets were removed. Need to donthat on the other end as well then add a new bit to the side with Cambrian Rivets.

After that Wagon Labels and the all important Wagon Card will be required plus put the body back on its 4 wheel chassis then it will be ready to enter service on the Flourspar Circuit.
Last edited:

