Chris Vernell
Tortoise
At this point, MalOz has decided to join the Order of Cistercians of the Strict Observance at a monastery smack in the middle of the Red Centre
They are designed so that they can be interlaced with a reinforcing rod and concrete mix when they are laid broken bond. You might be able to ease them around your bends if they were laid like thatYes, they are not light… 14-15kg a pop… its a good workout for the legs
Go for it… This is where it all started... G gauge meccano loco.Welcome from North Yorkshire. I'm a member of the Hornby Railway Collector's Association (HRCA) - although my Hornby collecting is limited to three O gauge goods yard cranes which go quite well with G gauge - and I'm sure people woudl be interested to see your use of Meccano if you would agre to it. An appropriate recognition of source would be given.
There's been a serial on building something similar in the 16mm Association magazine. Well worth a read. Looks quirky, but does the jobGo for it… This is where it all started... G gauge meccano loco.
Although i did garner some inspiration from a similar model on YouTube, so i can not claim full credit for the original idea.
Cheers
Oh yes, “quirky” I’ll give you that ! …. It all came down to a desire to scratch build some 4 wheel coaches.There's been a serial on building something similar in the 16mm Association magazine. Well worth a read. Looks quirky, but does the job
CrikeyView attachment 332010
Somewhere around 54 kg of concrete, unheaved so far. At t'other end of this board is a singleton deck block.
Beyond taking off the turf, I do not go into the ground. Hereabouts, you have to go down four feet to get below the frostline to avoid heave.
Ok heres an update...Hello,
Mal here from wet and windy Perth. New to garden railways but not really new to the model rail scene. Had a couple small OO layouts over the years but they didn't get finished as much as I had hoped. Life and family, the usual excuses. Have also been collecting static model steam for a number of years (Bowman, Wilesco etc) which I also fire up from time to time.
I retired in October last year (after 40 odd years in the Data Centre industry) and have always fancied scratch building stuff. Started playing around with ideas based on Meccano chassis etc
first wagon... not too bad... roughly (really roughly) 10mm=1 foot. Could do better...
View attachment 331937
Then I needed something to pull it... so the wee Fowler on another meccano chassis turned up... well this was fun ... and runs well...
View attachment 331938
I thought I could do better on the wagon, especially once i found tenmille on the web... wagon v2... really 10mm = 1foot full timber chassis working buffers etc
...its a scale 6" too short as I only found a full set of drawings AFTER I almost finished it...V3 will be perfect
View attachment 331939
So, ok. Decided I needed a loop to run my builds....this is where the garden railway connection begins.....
A basic 6m x 4m loop using 45mm track (LGB and LGB compatible). It will evolve I am sure, already have ideas for spurs, stations, buildings etc.
View attachment 331940
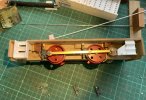
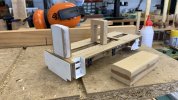
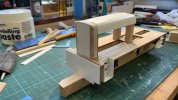
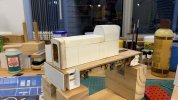
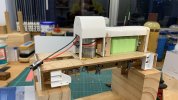
Currently working on a chassis of a BR Class 06 shunter - this will be 10mm to the foot and will be using battery and R/C...
View attachment 331941
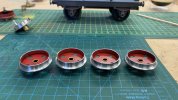
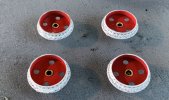
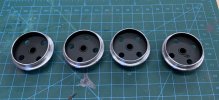
Chassis is 3mm MDF, and all the detailing will be sytrene, timber etc. connecting rods were custom made for me. ...anyway will show more pics of this if anybody is interested.
So yeah here I am ready to learn from those who have been here before me.
Cheers,
Mal
ah yes, of course, I should have done that earlier. CheersMalOz_1957 can you move or continue your thread under a different section of the forum please. The new members area is for a meet'n'greet, a build would be better in its own thread - it won't disappear that way.
Thanks,
pugwash
