Imagination Station Kids
Imagination Station Kids On Track
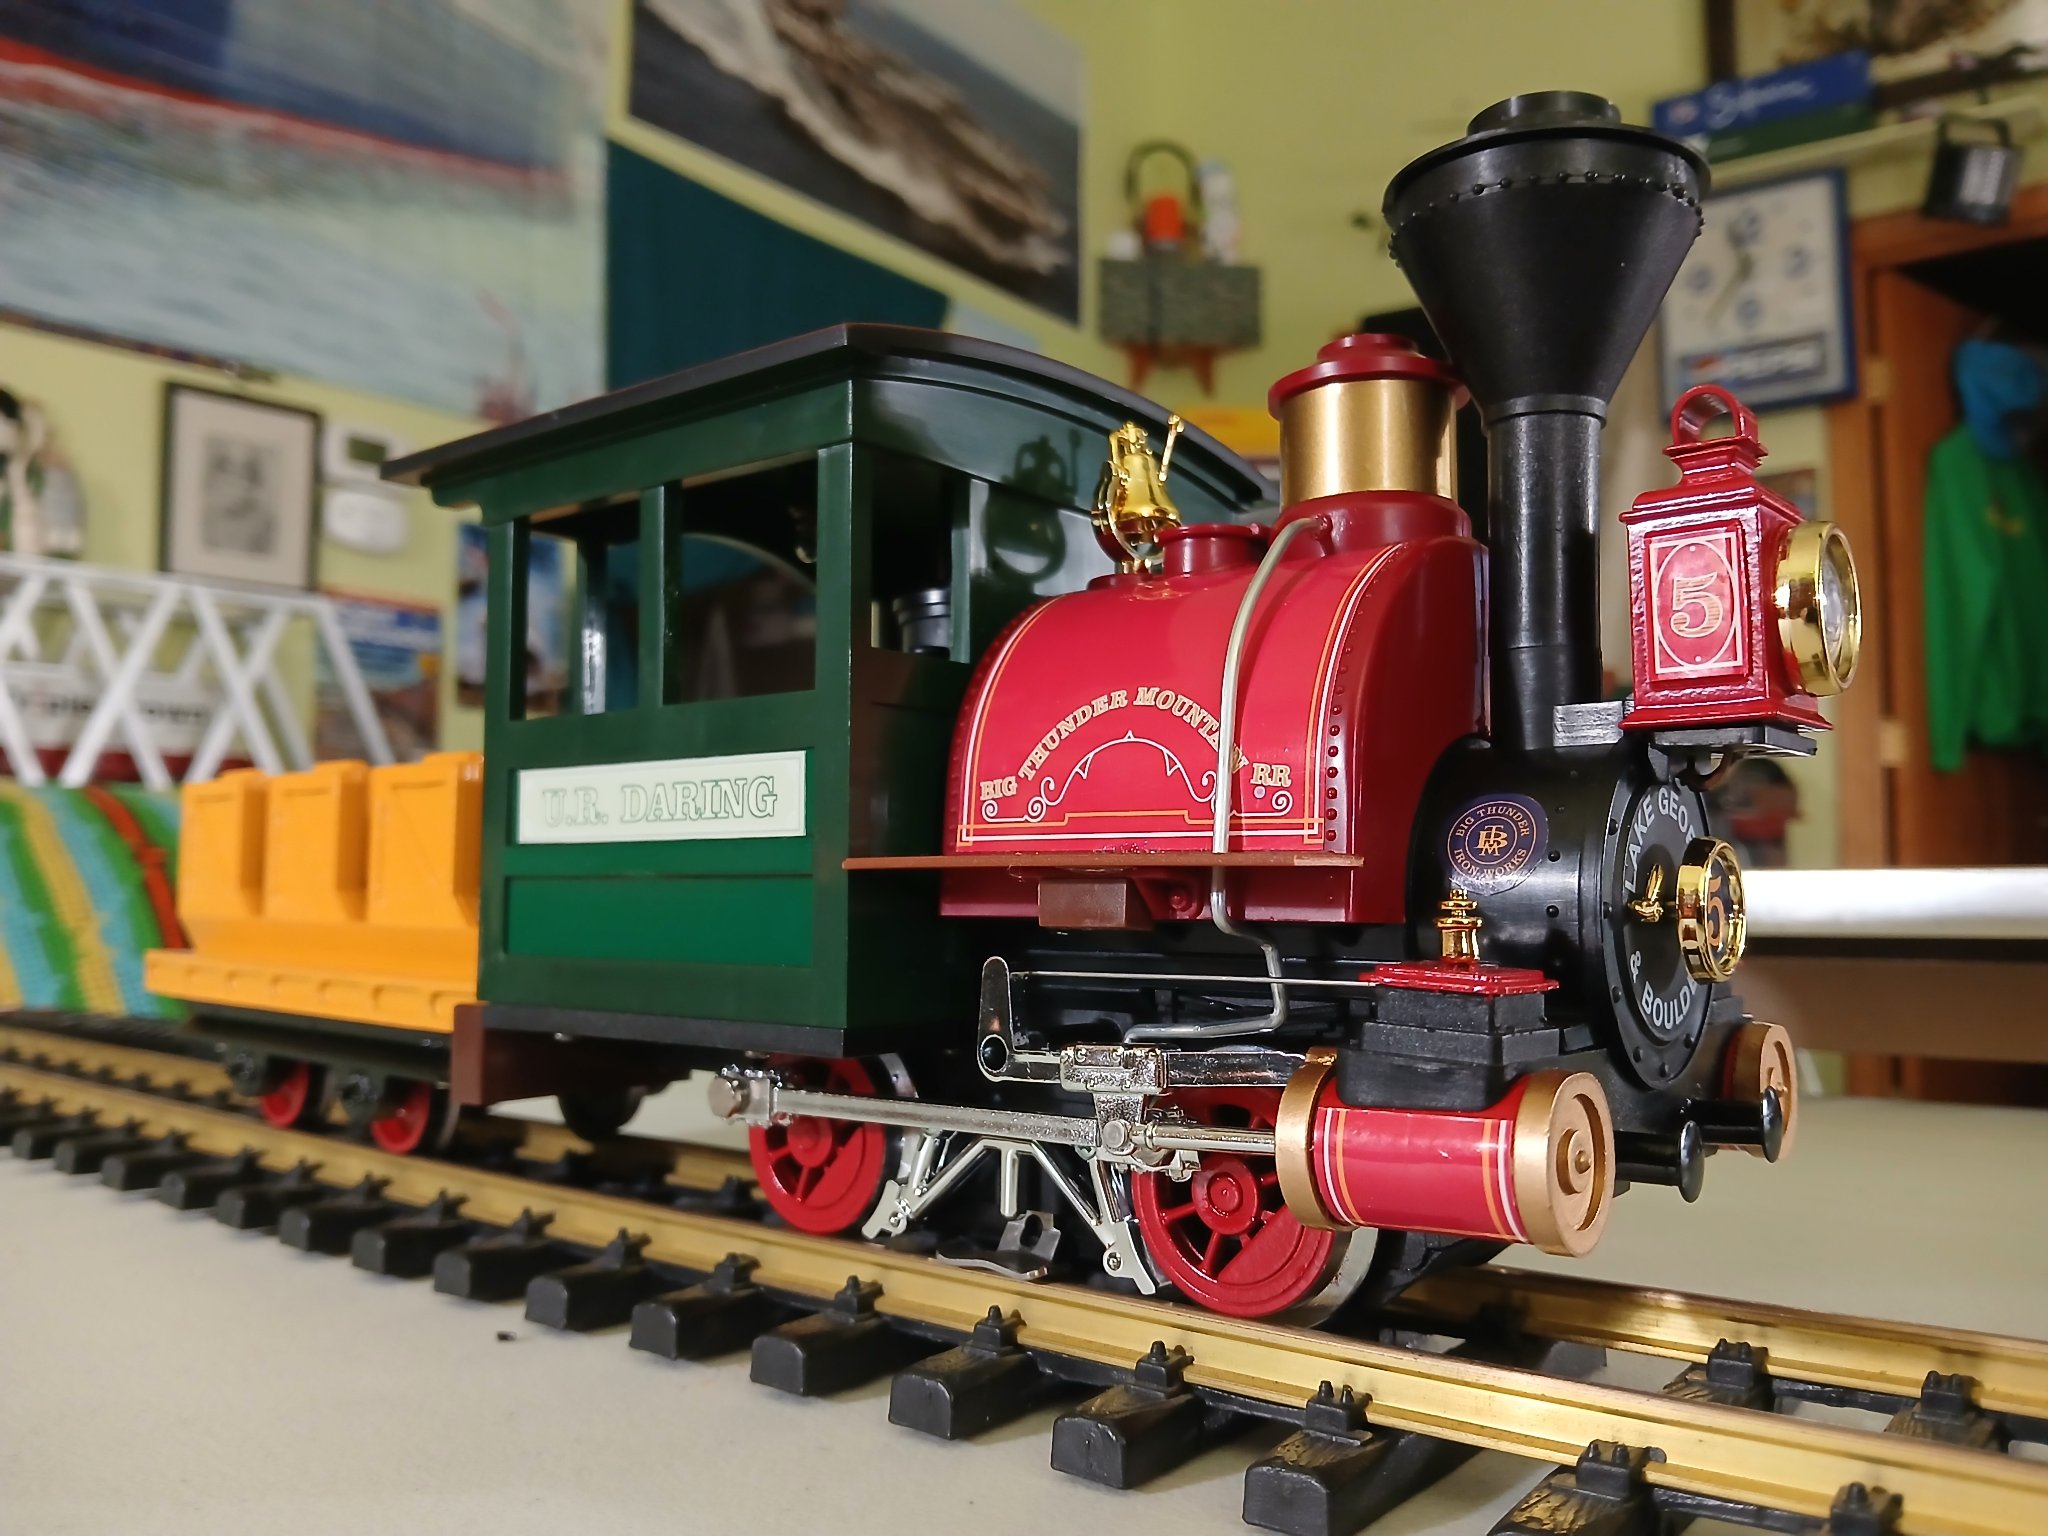
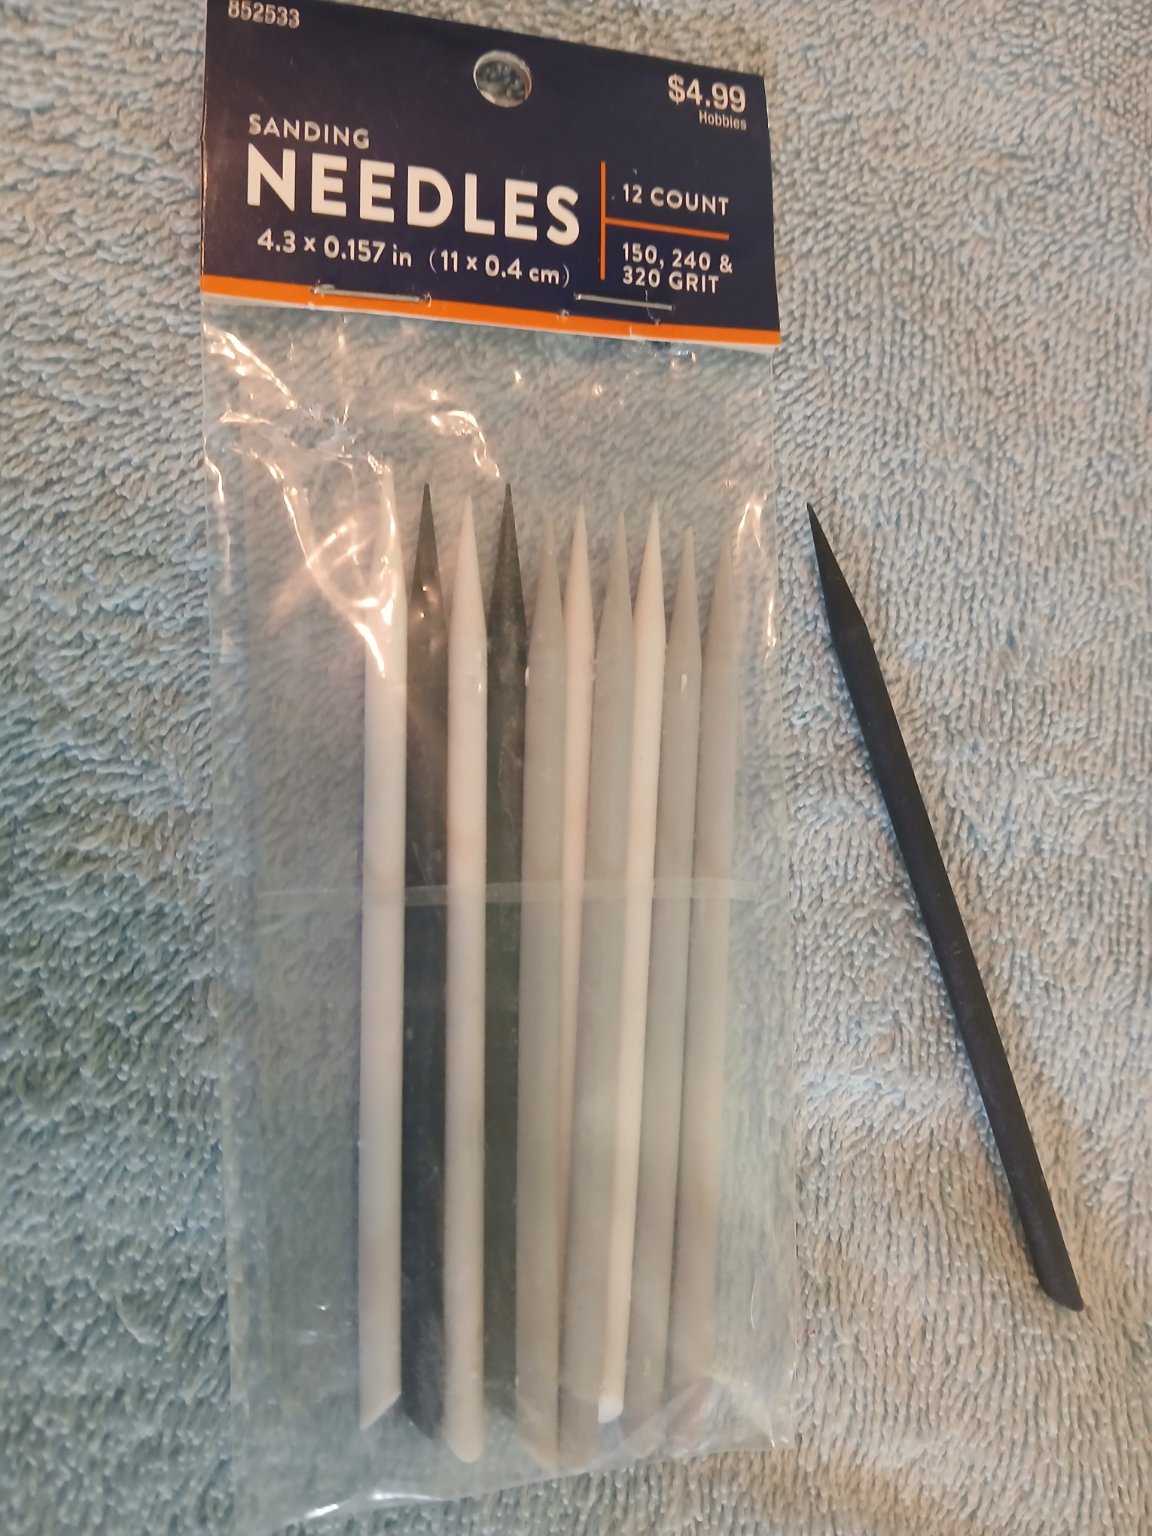
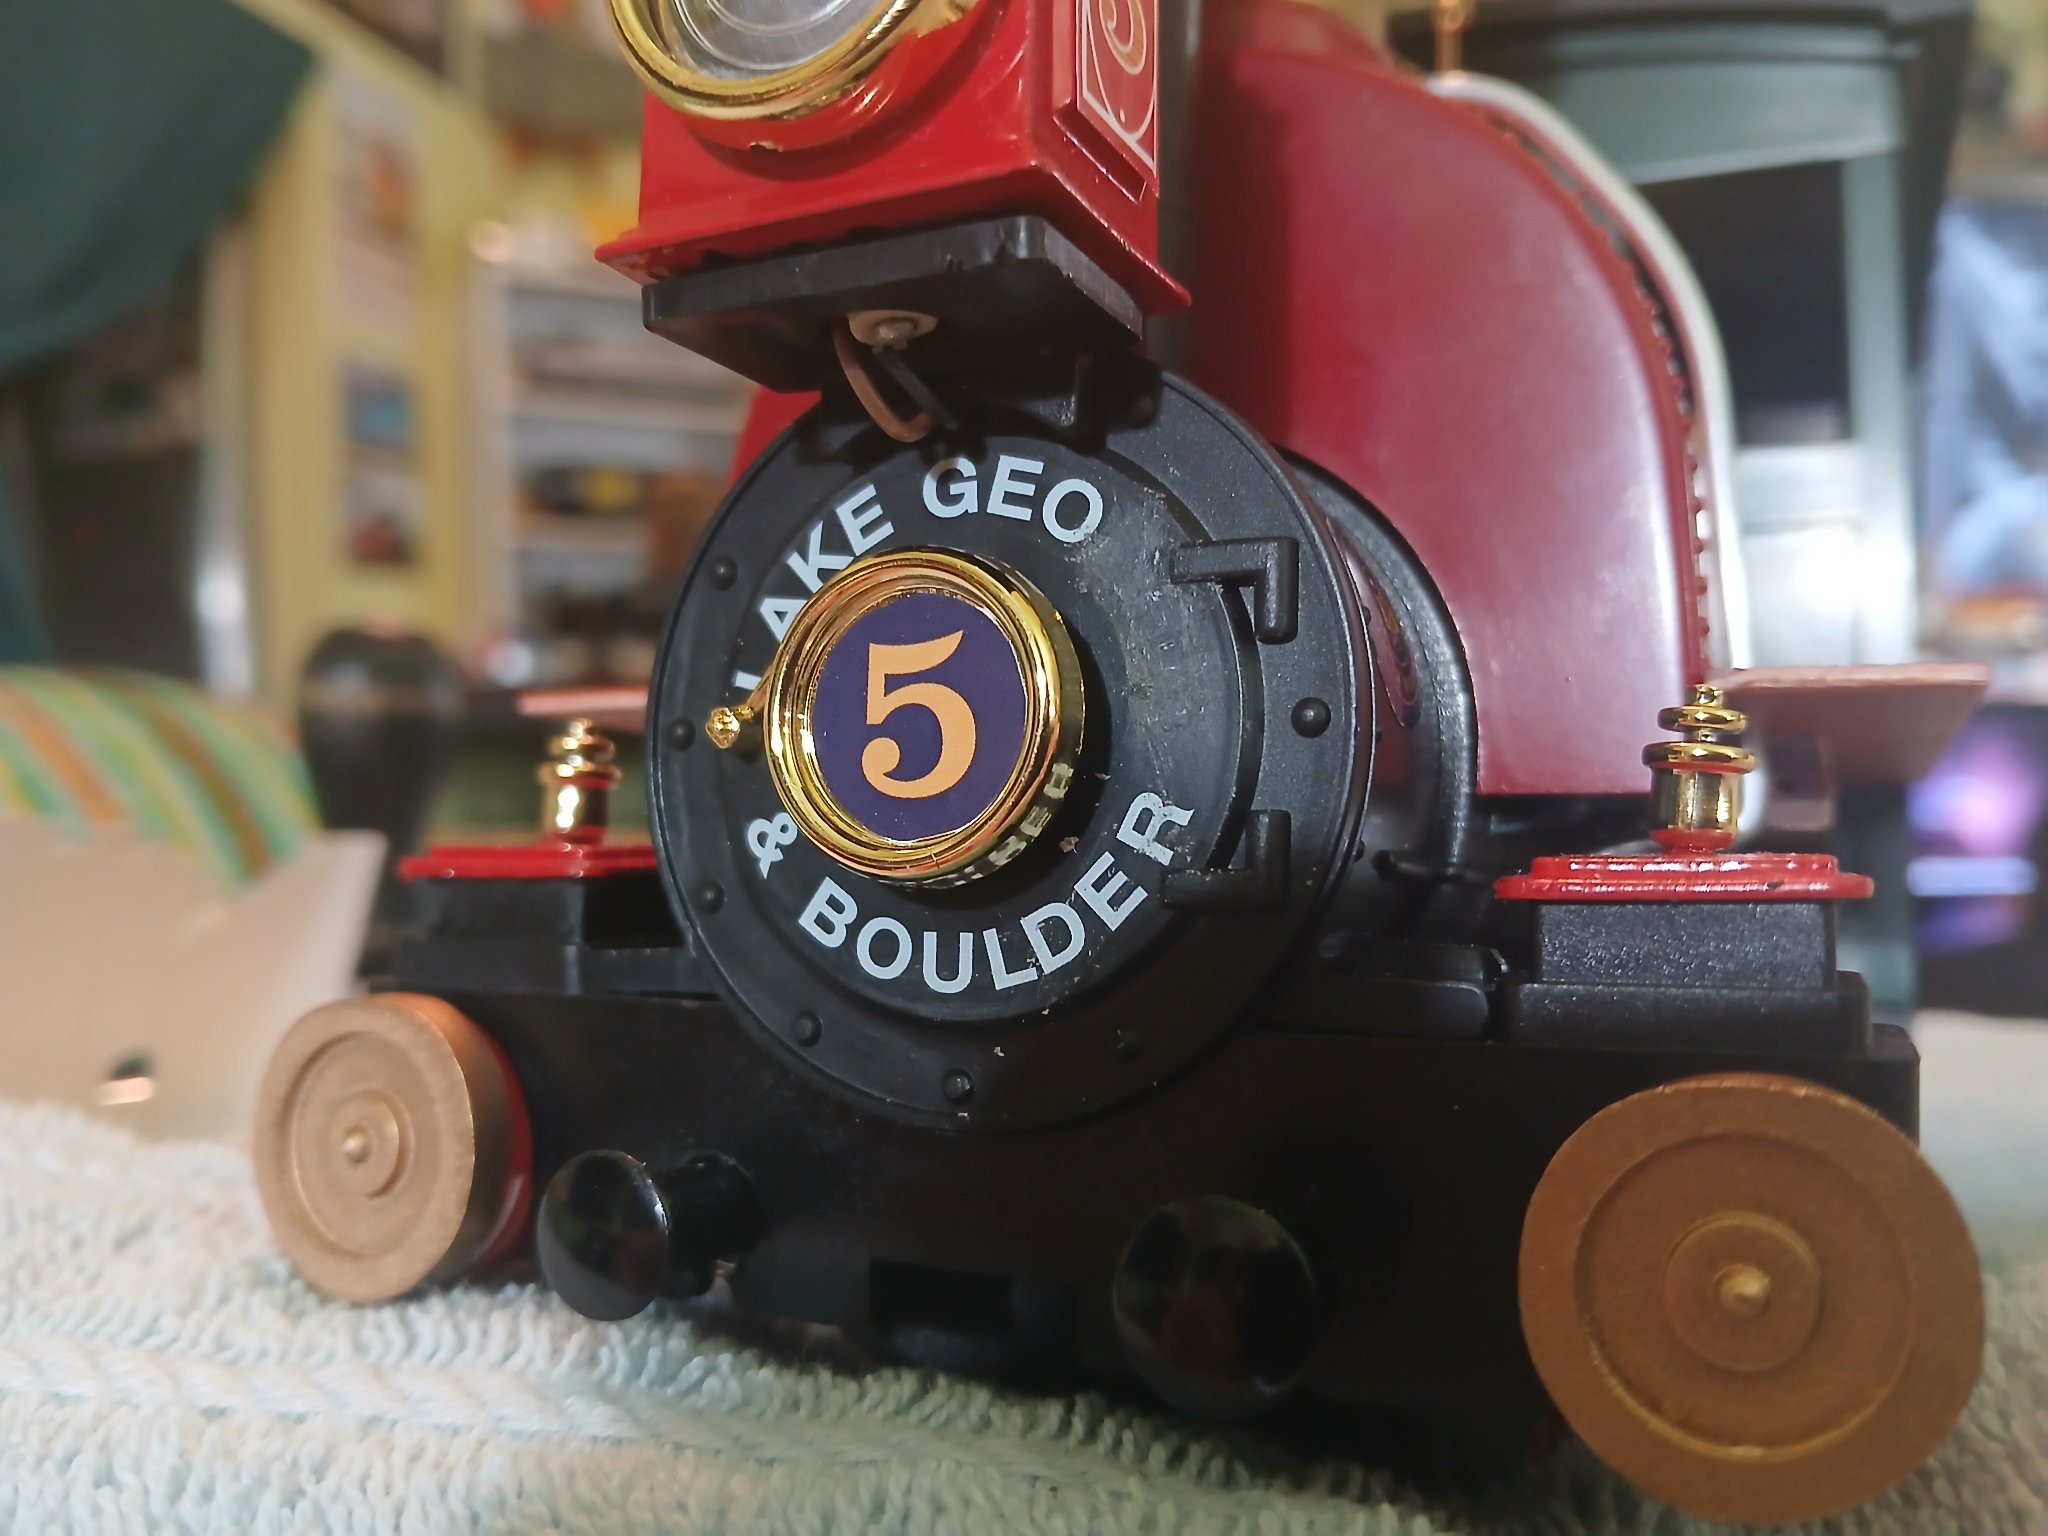
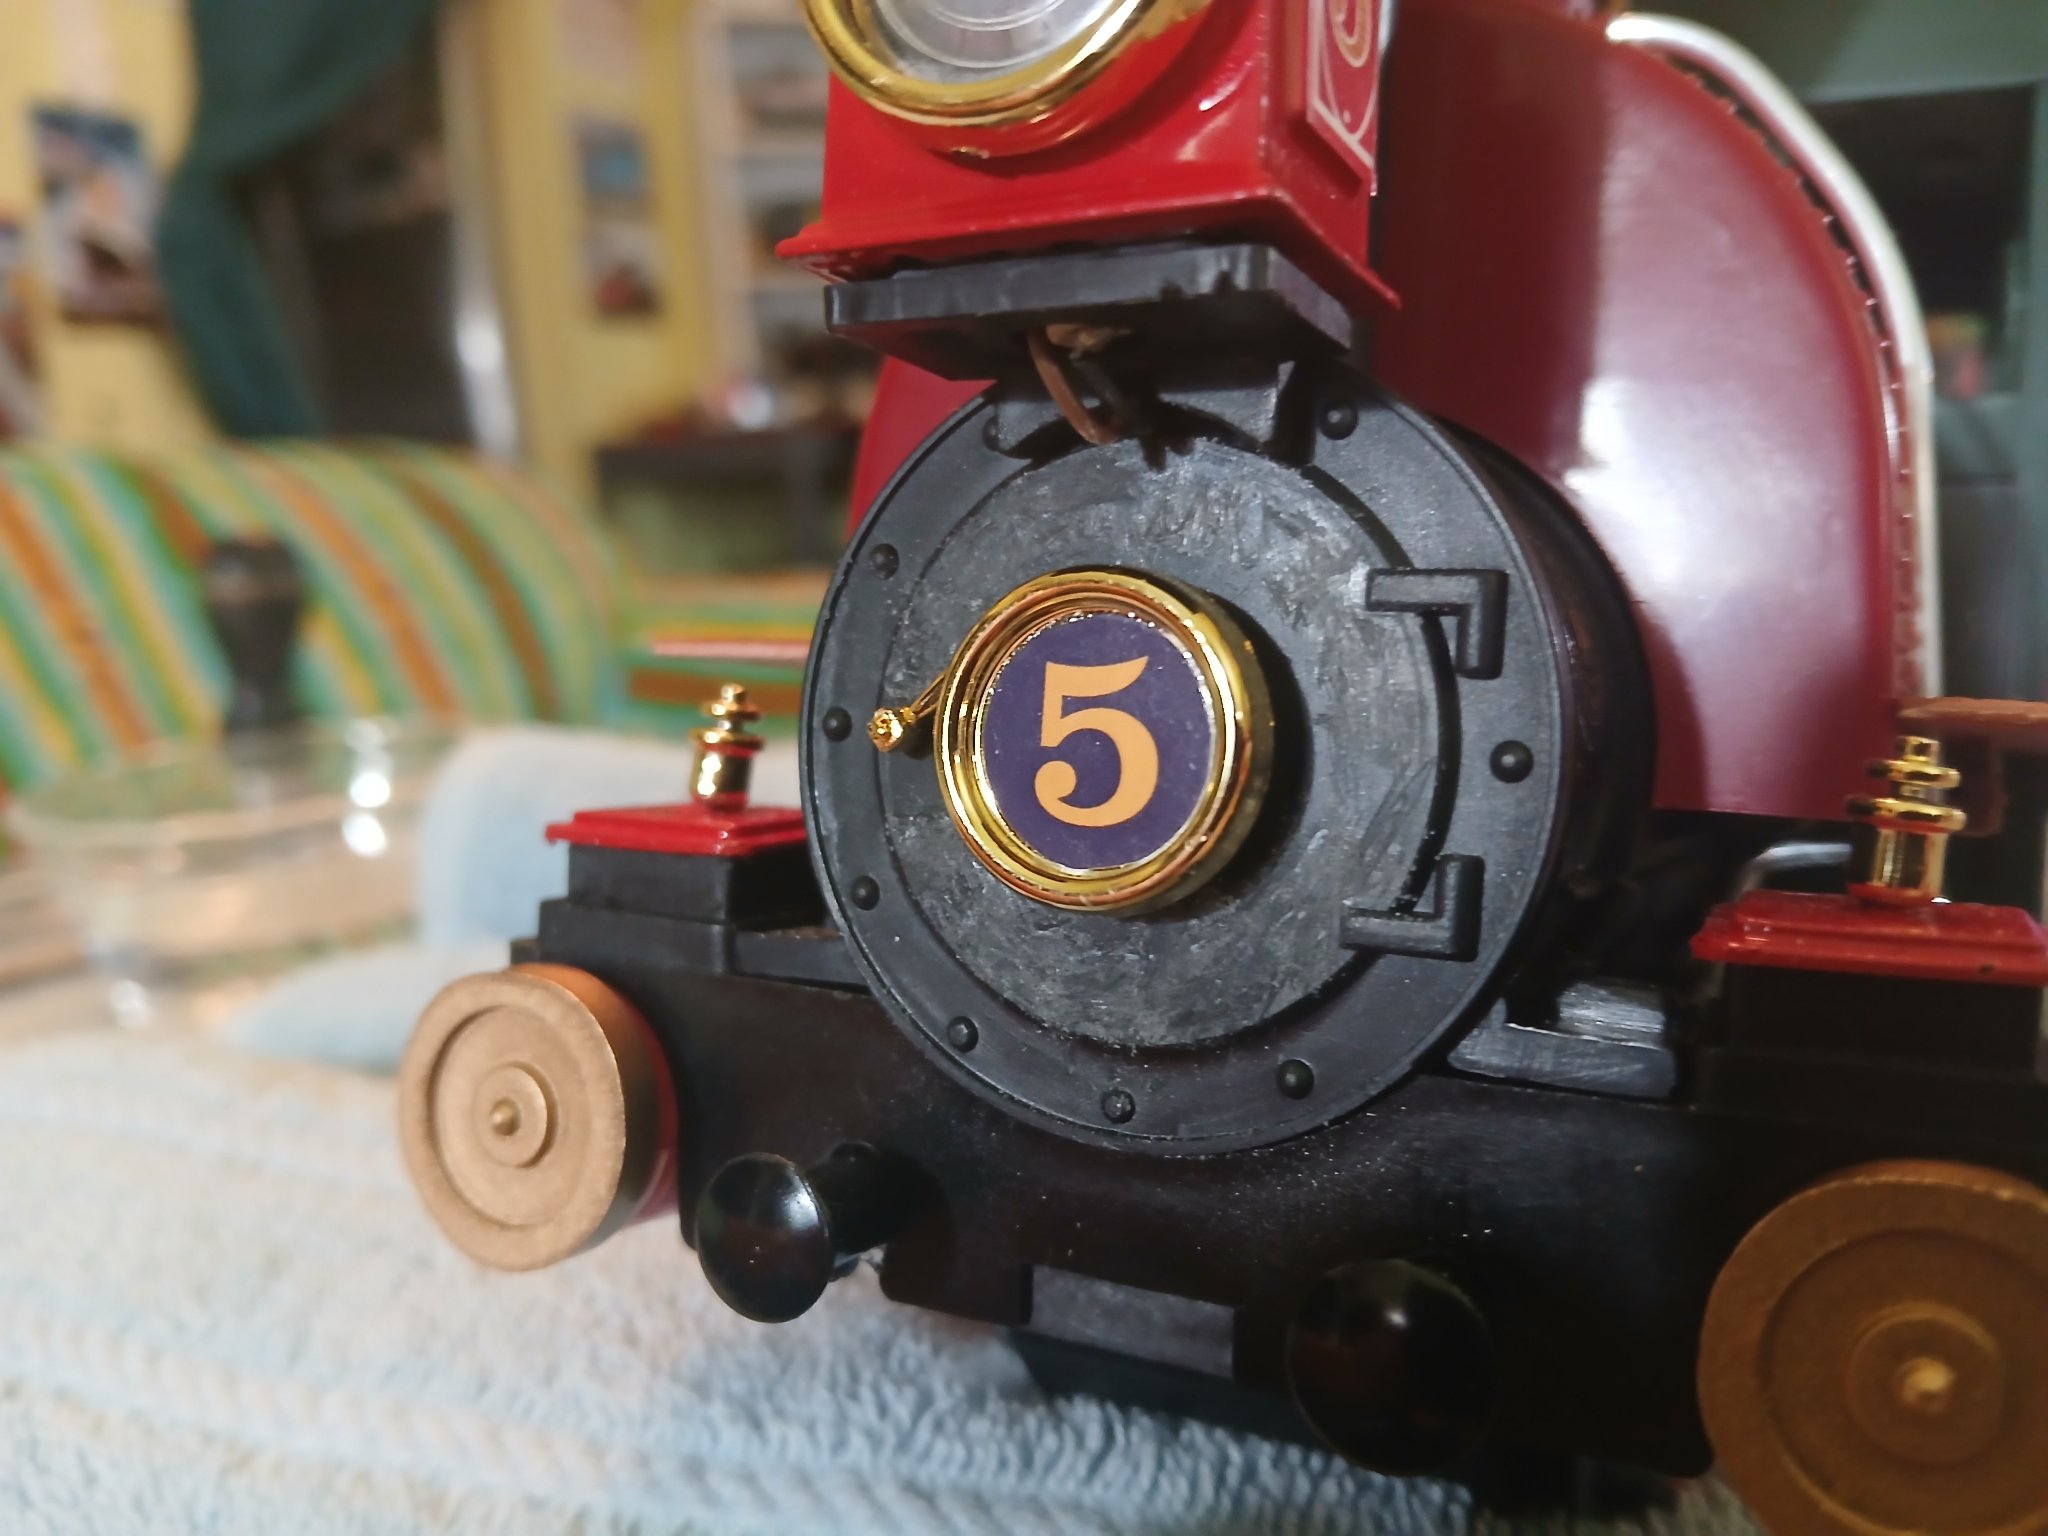
Came out real nice. I'll have to get one of those fiberglass pens.
Side Note;
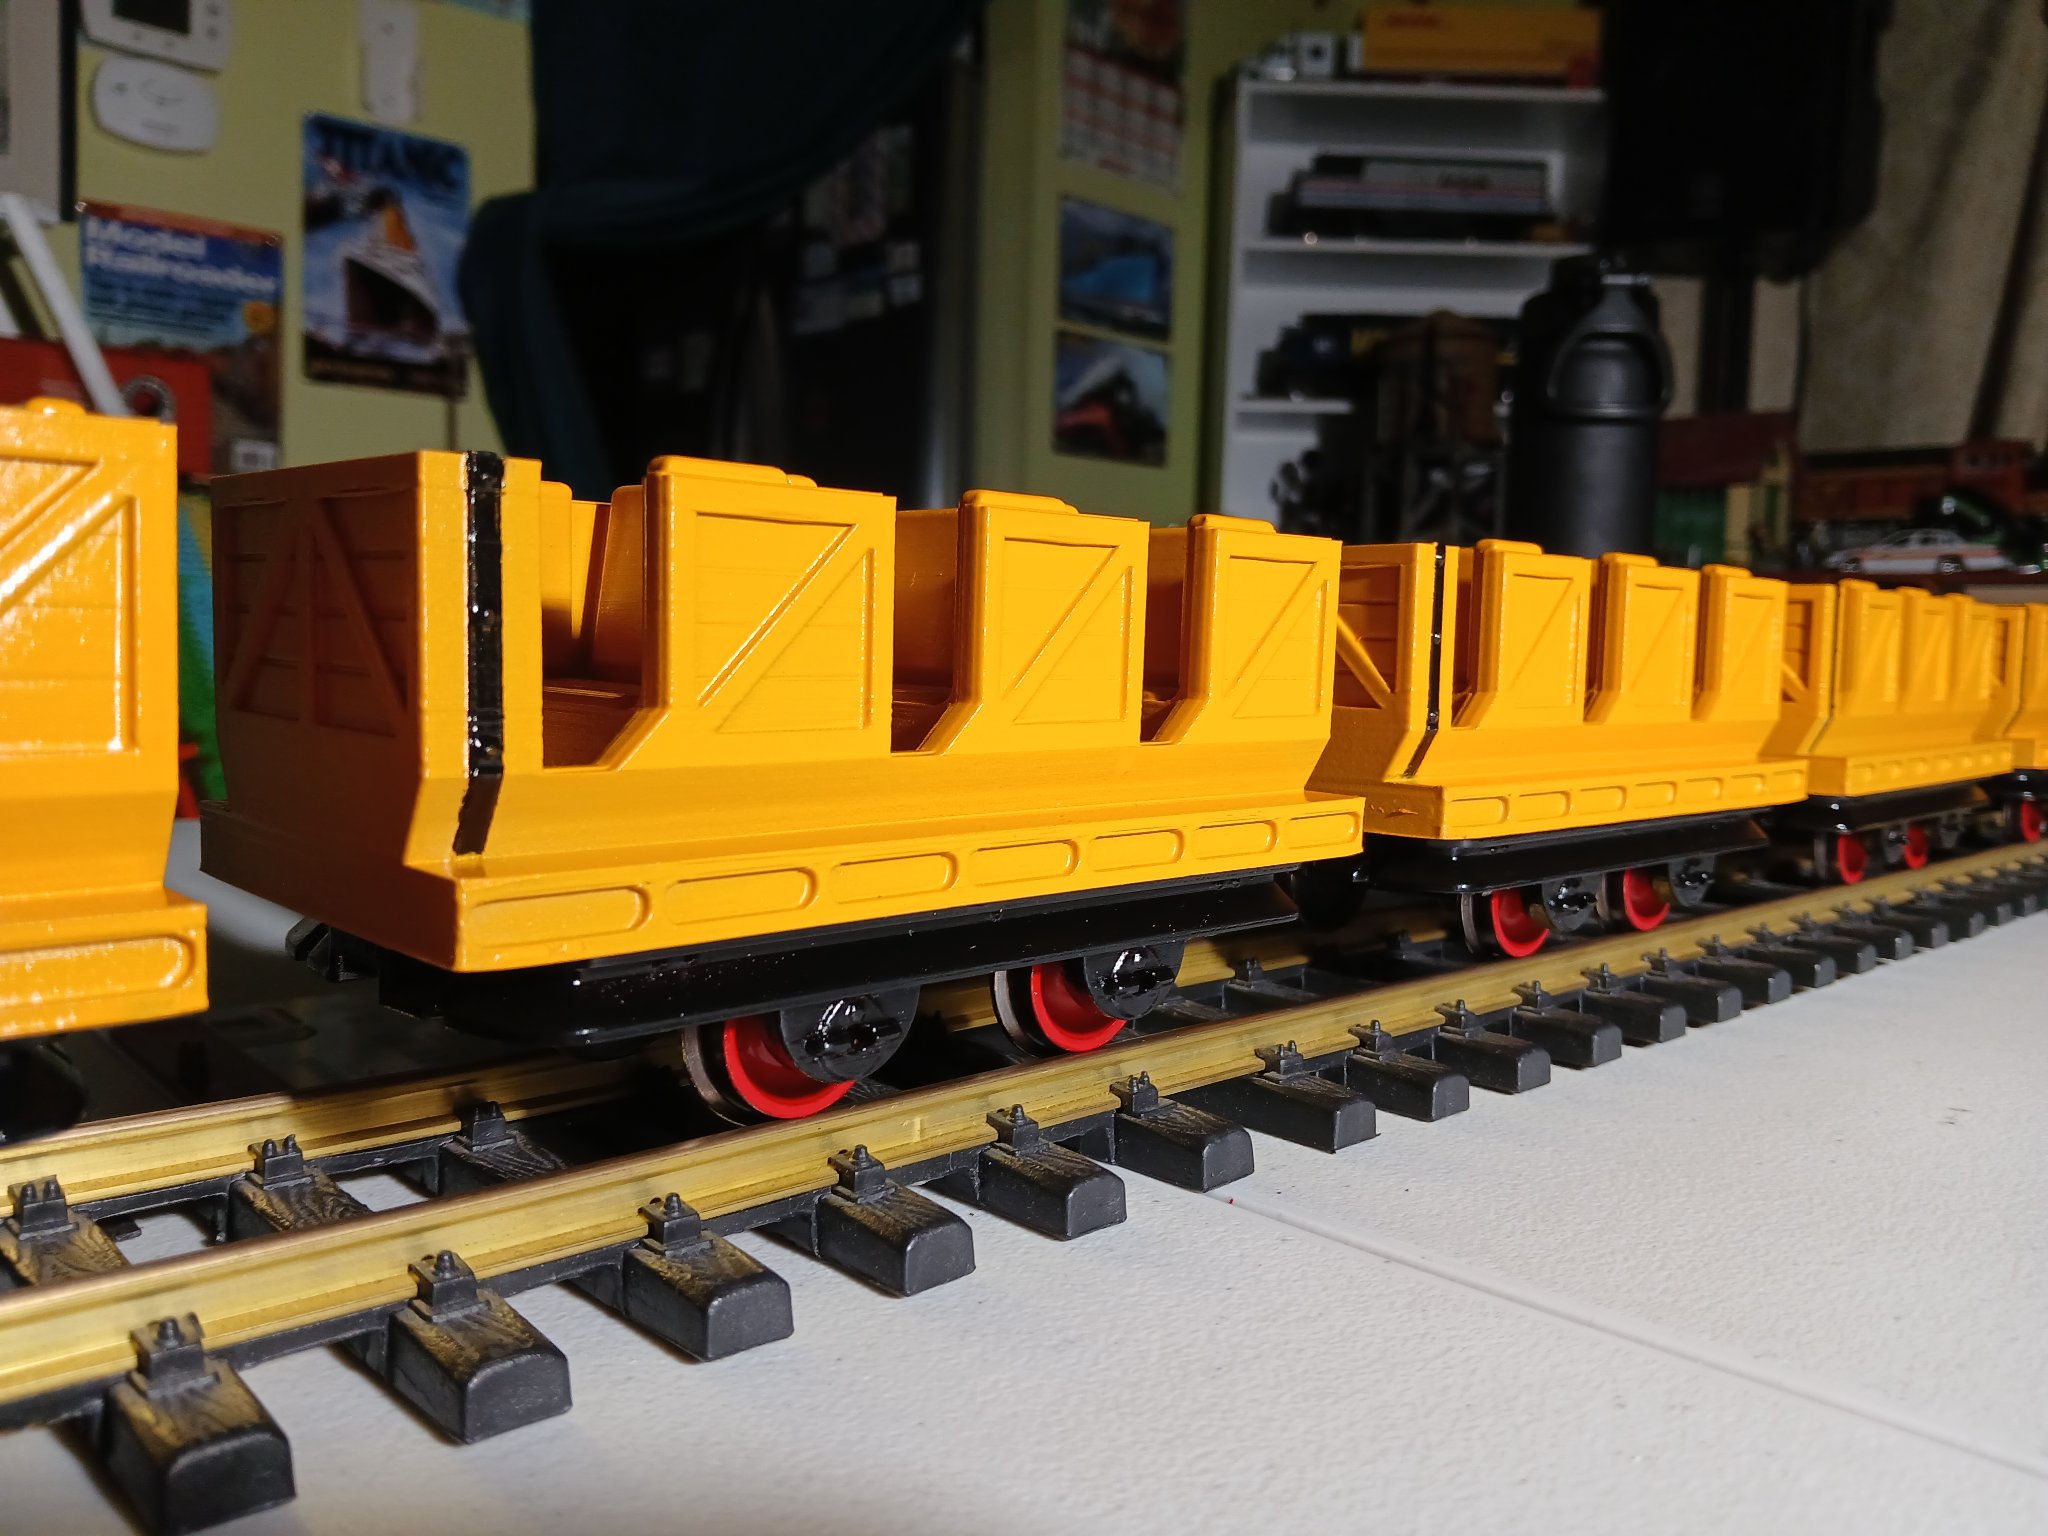
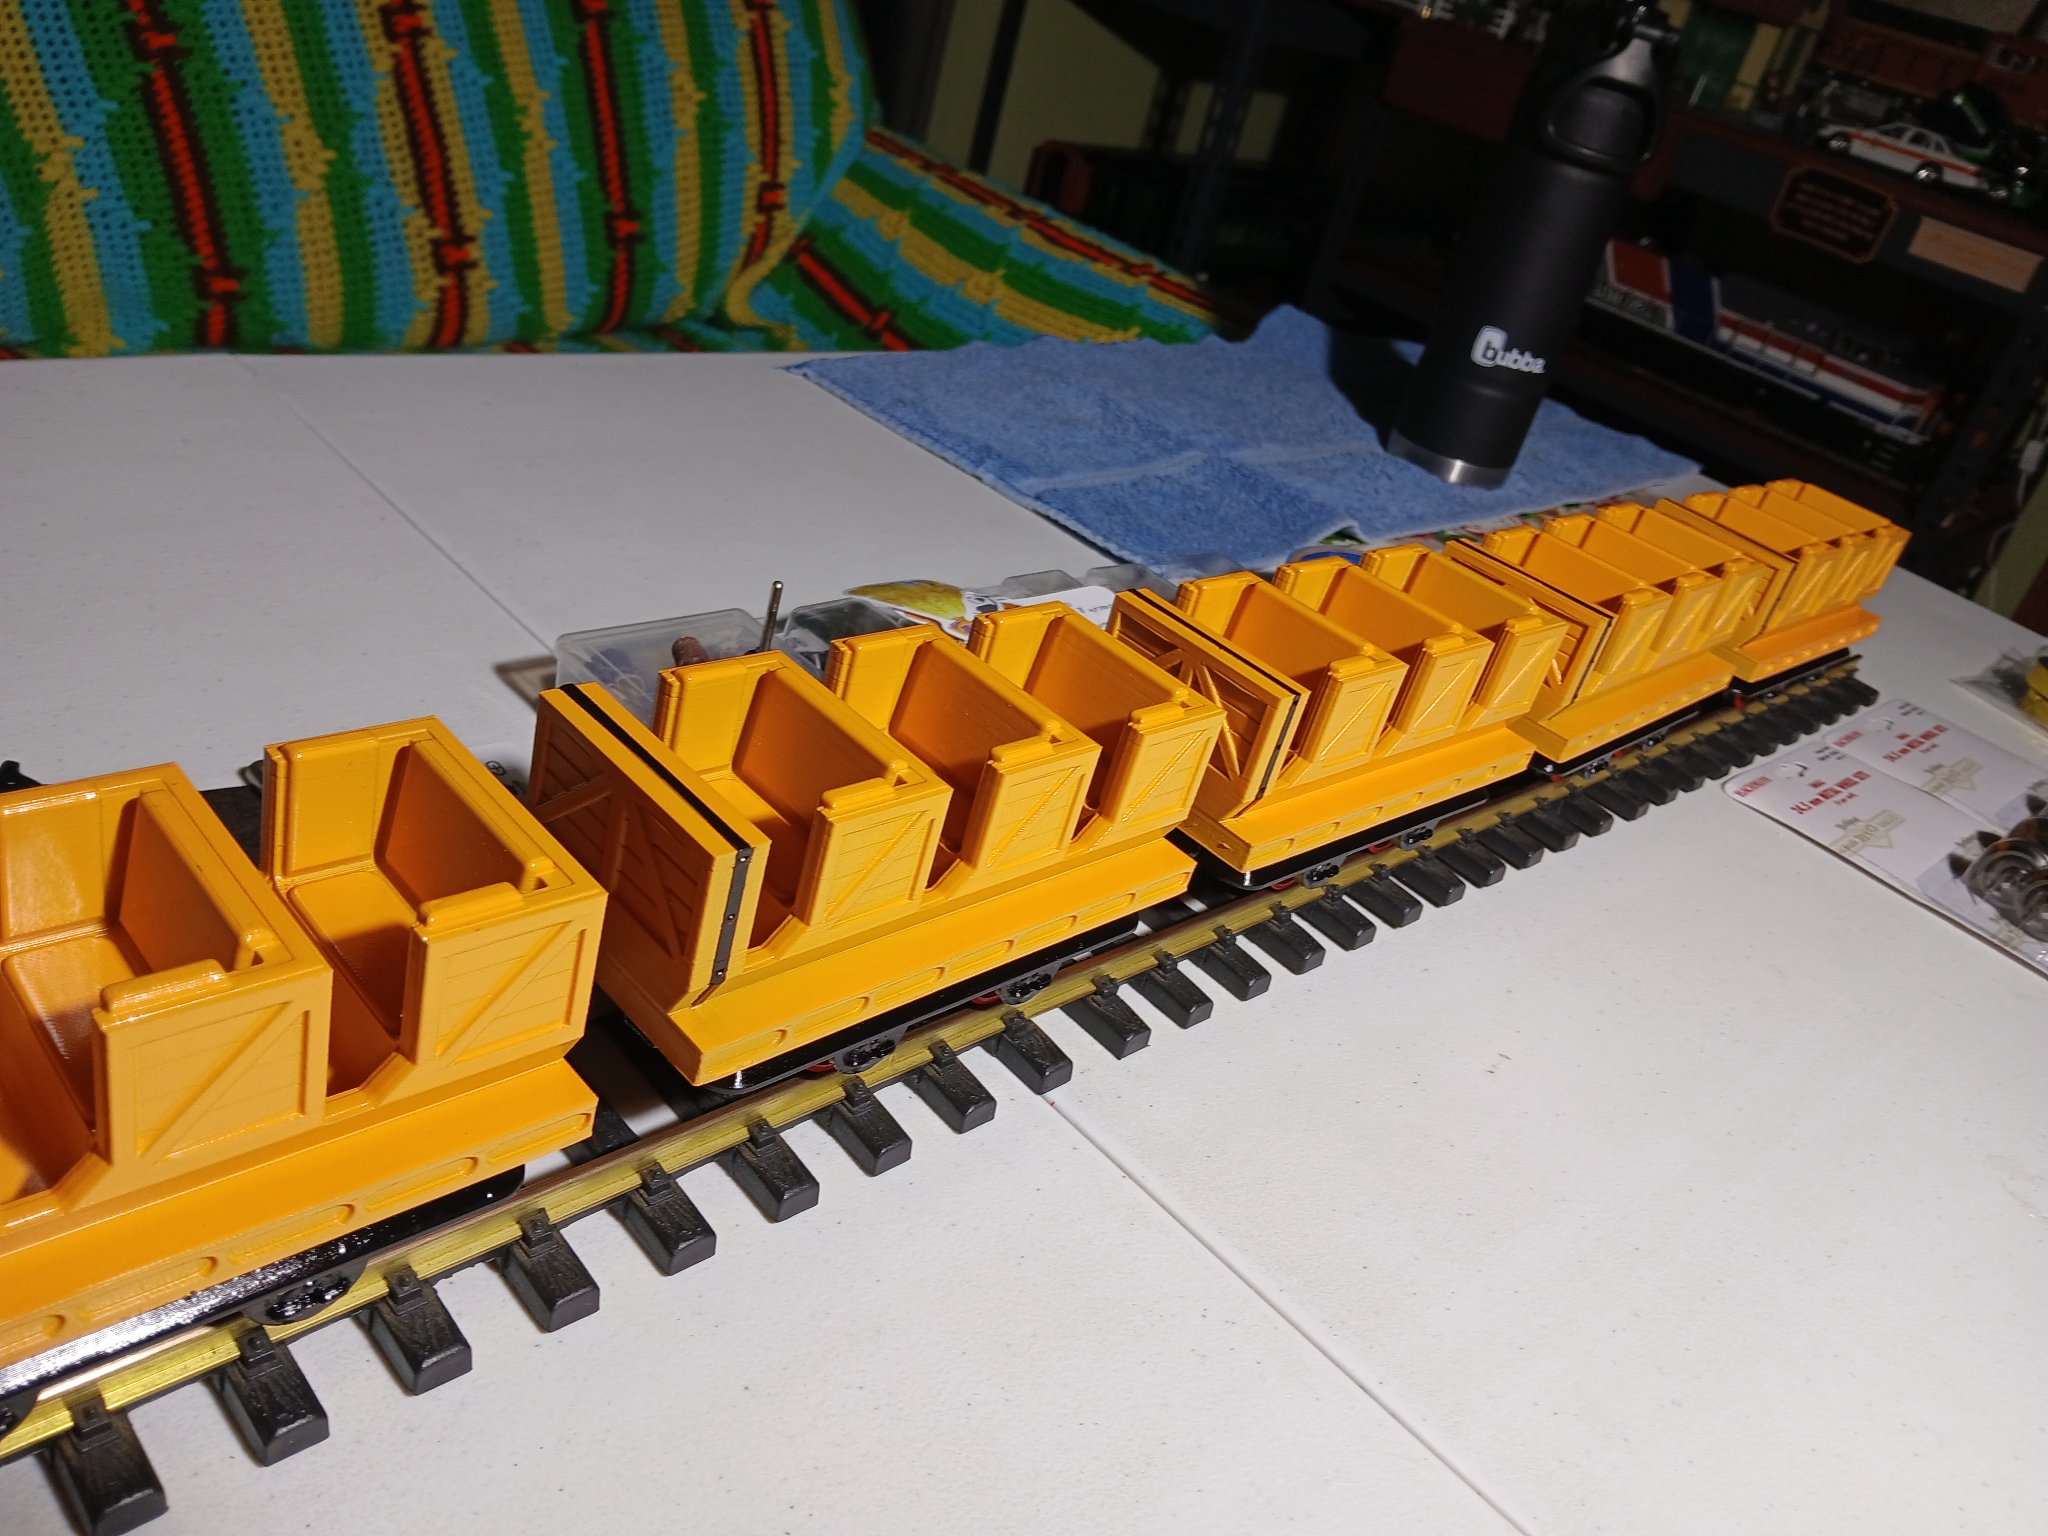
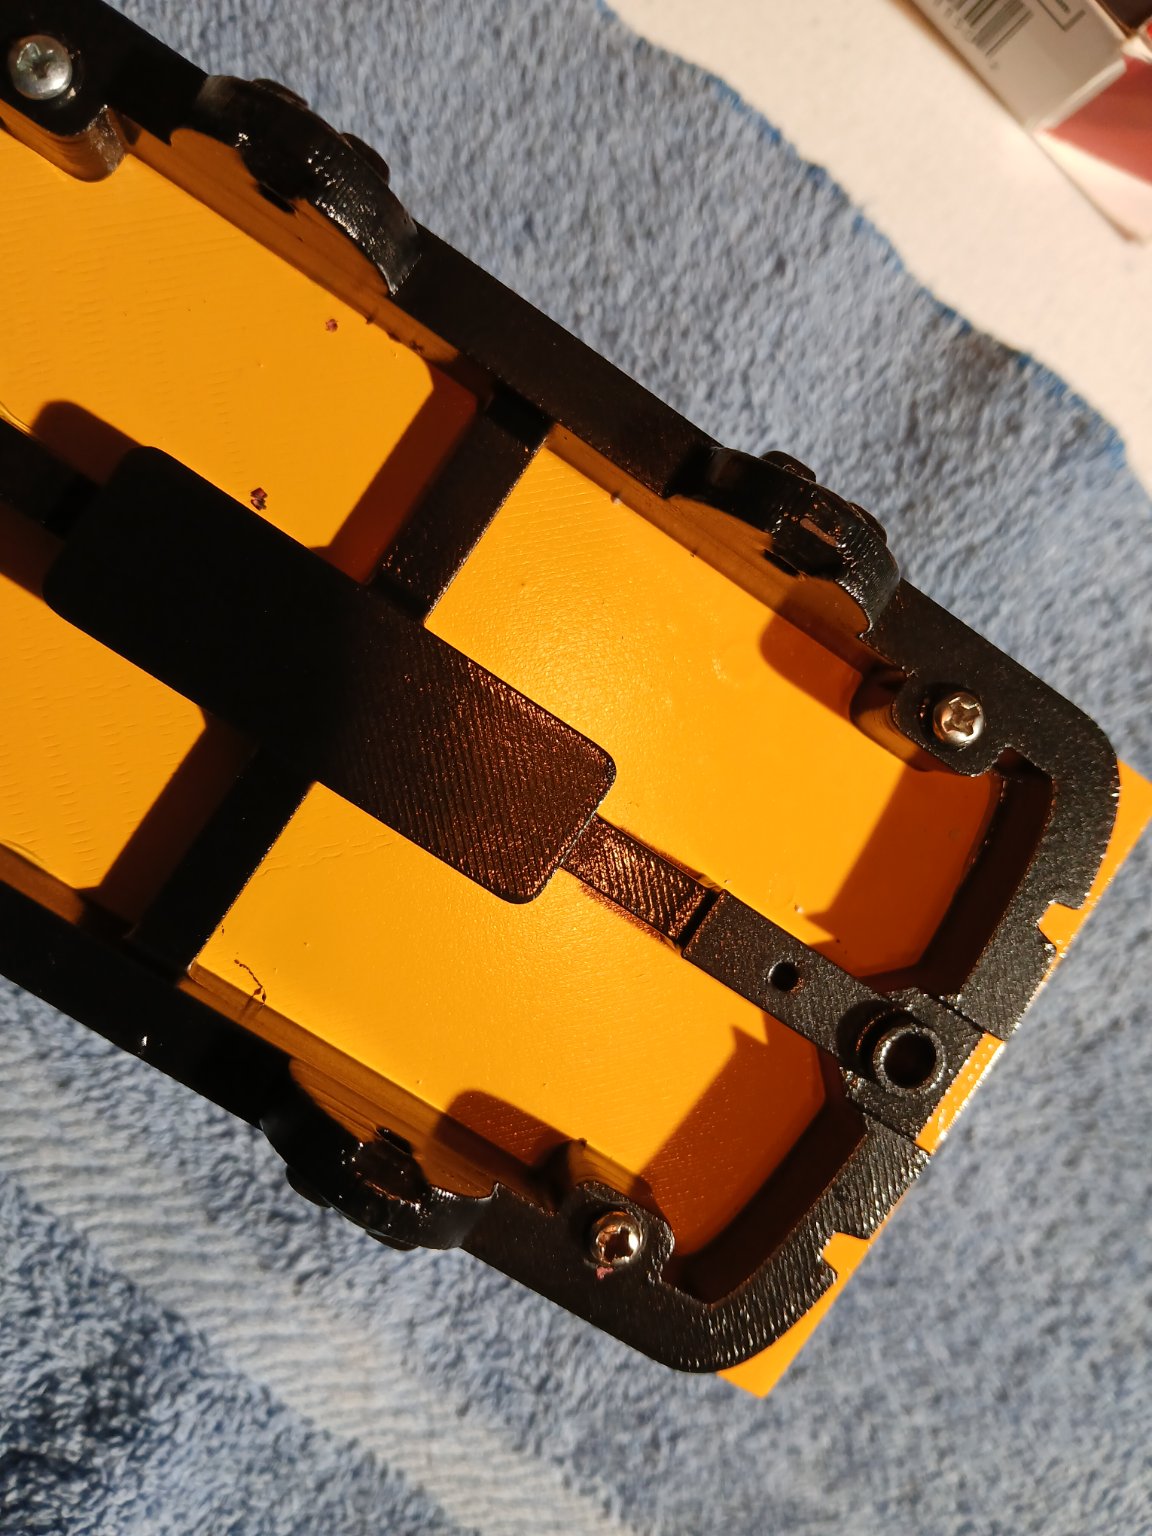
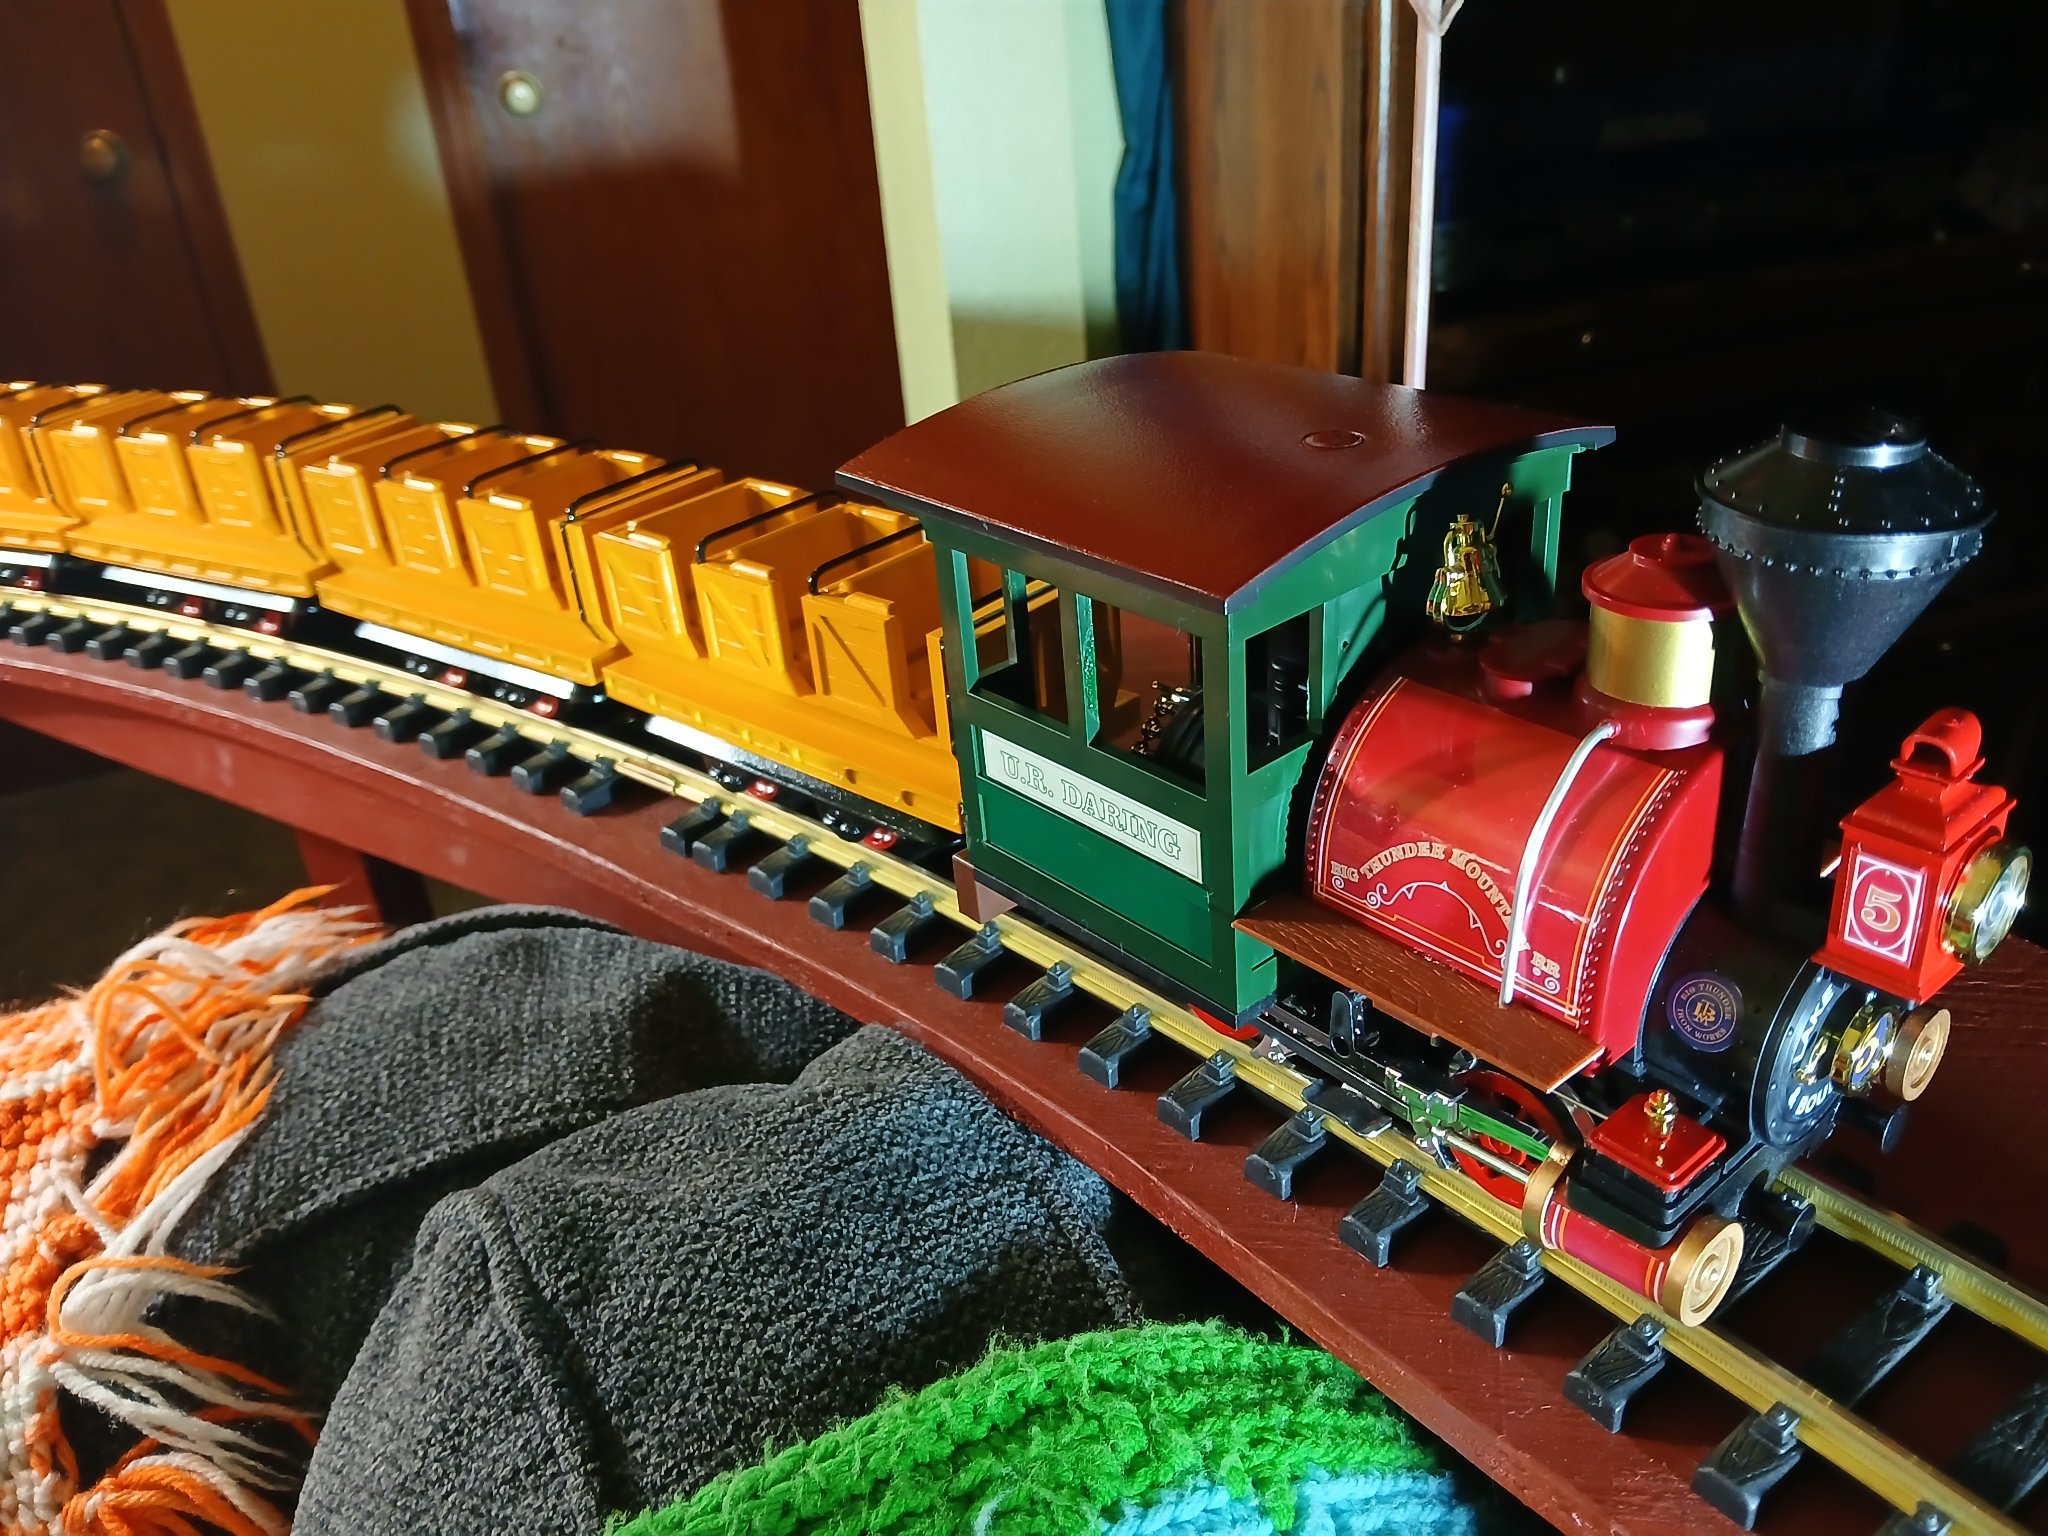
Finally got the wheels on those cars but they barely scrape the body of the ride car underneath. So gotta figure that out.
I also think that coupling the cars together will be an issue as well because these are 3D printed and have odd coupler brackets that don't seem to fit any brand of couplers.
Side Note;
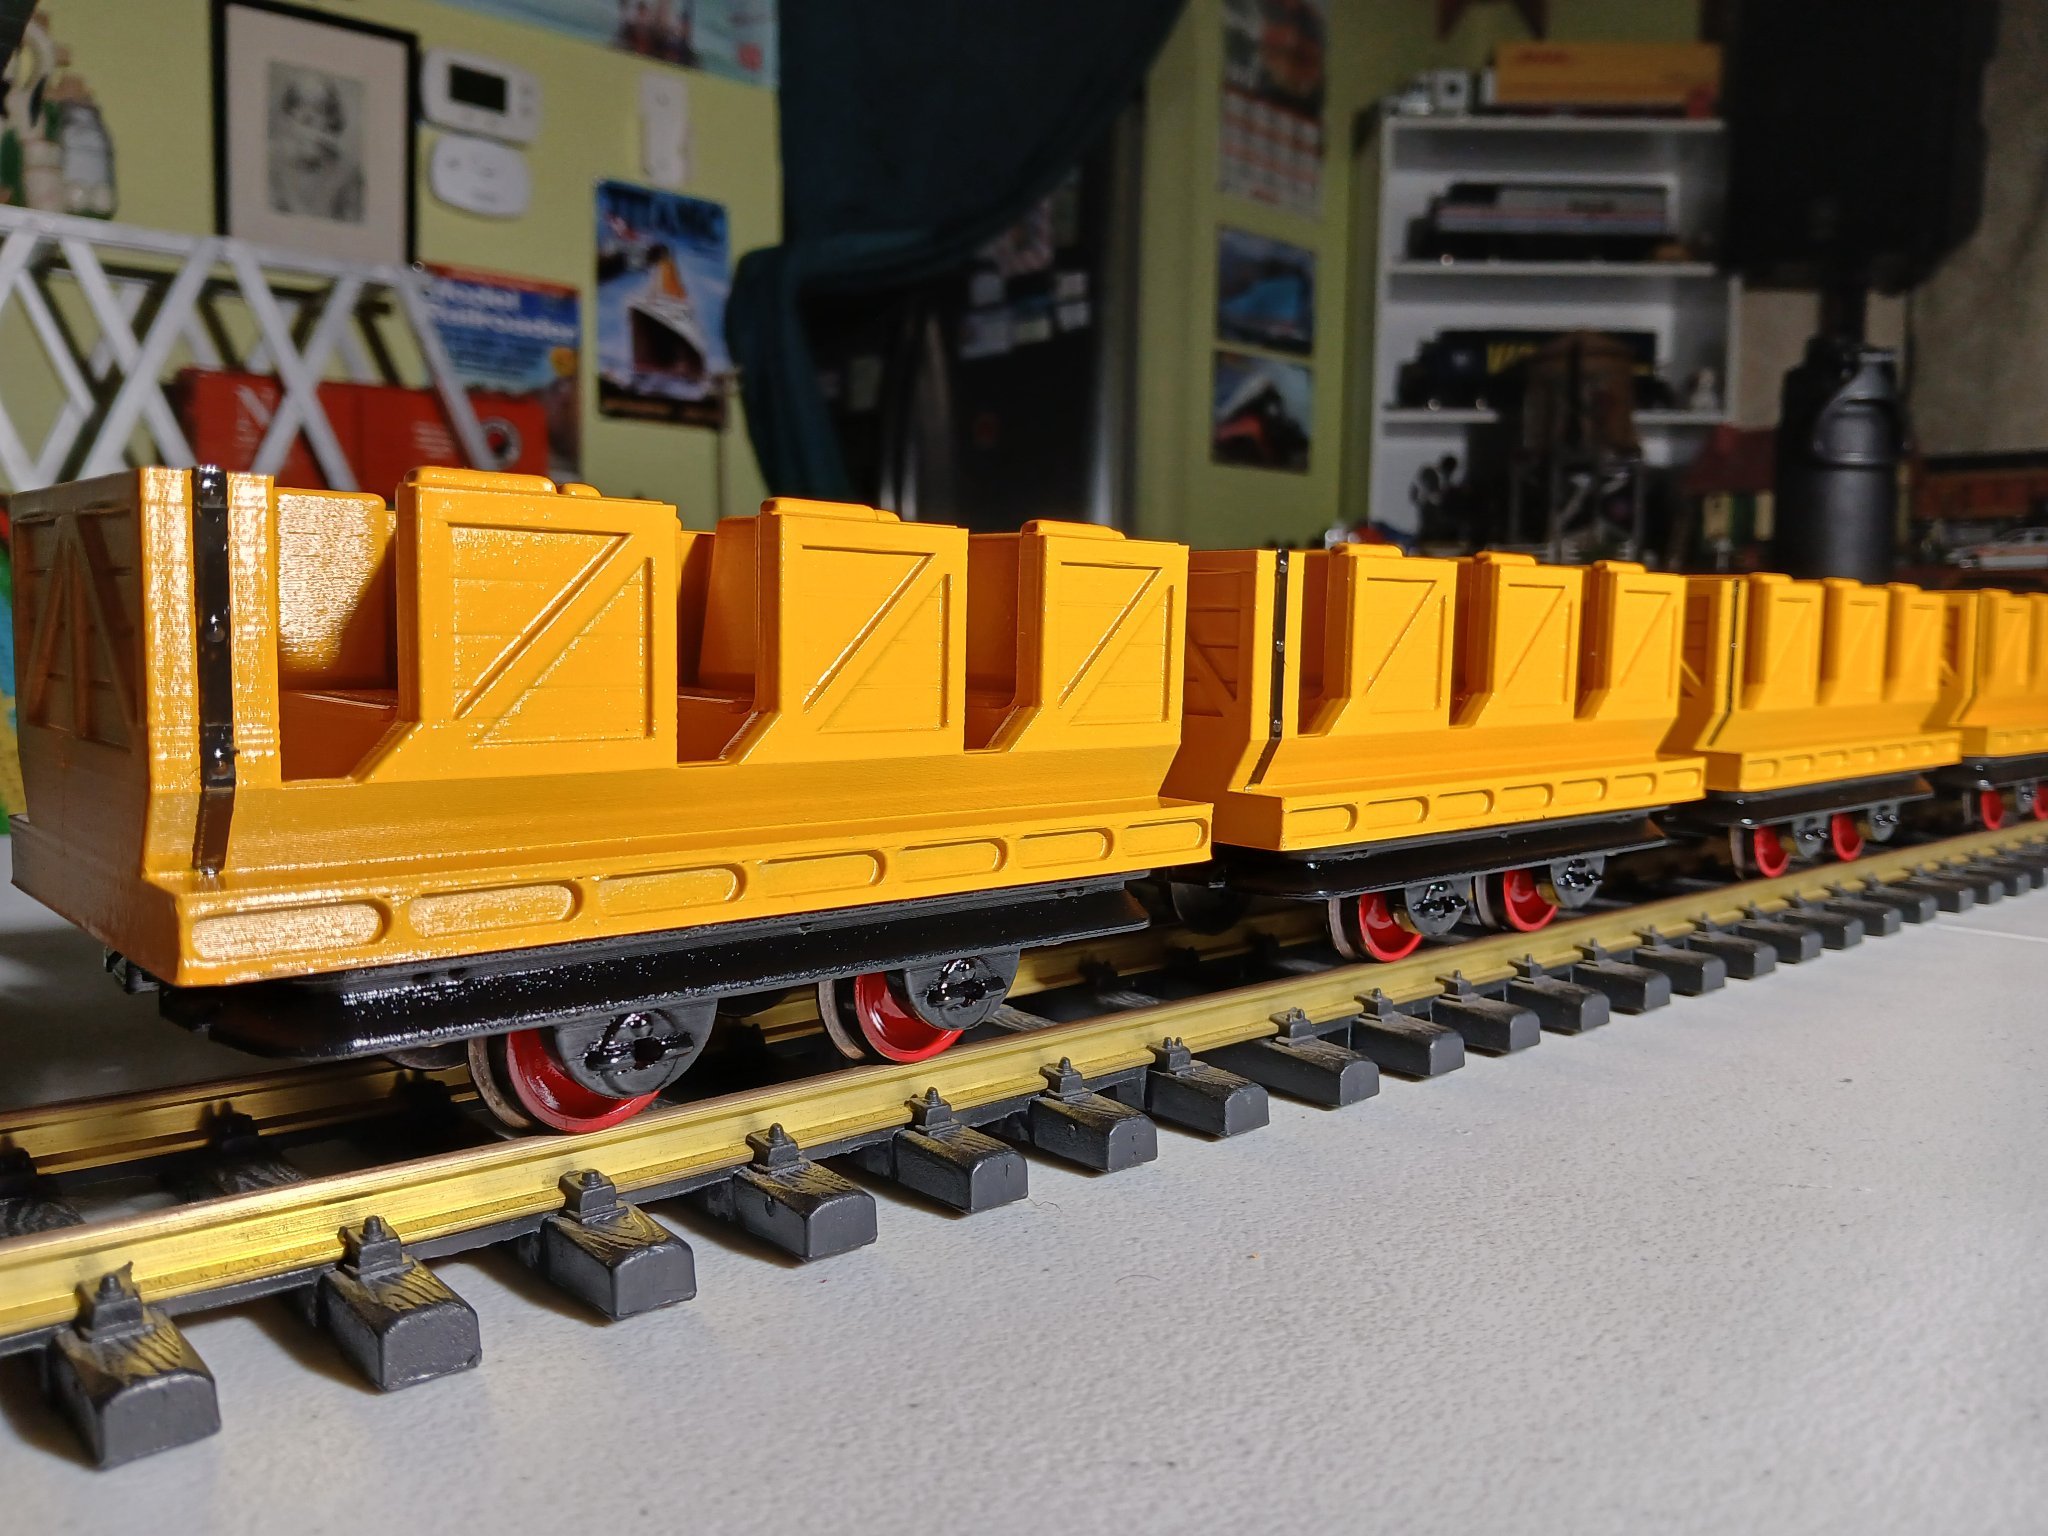
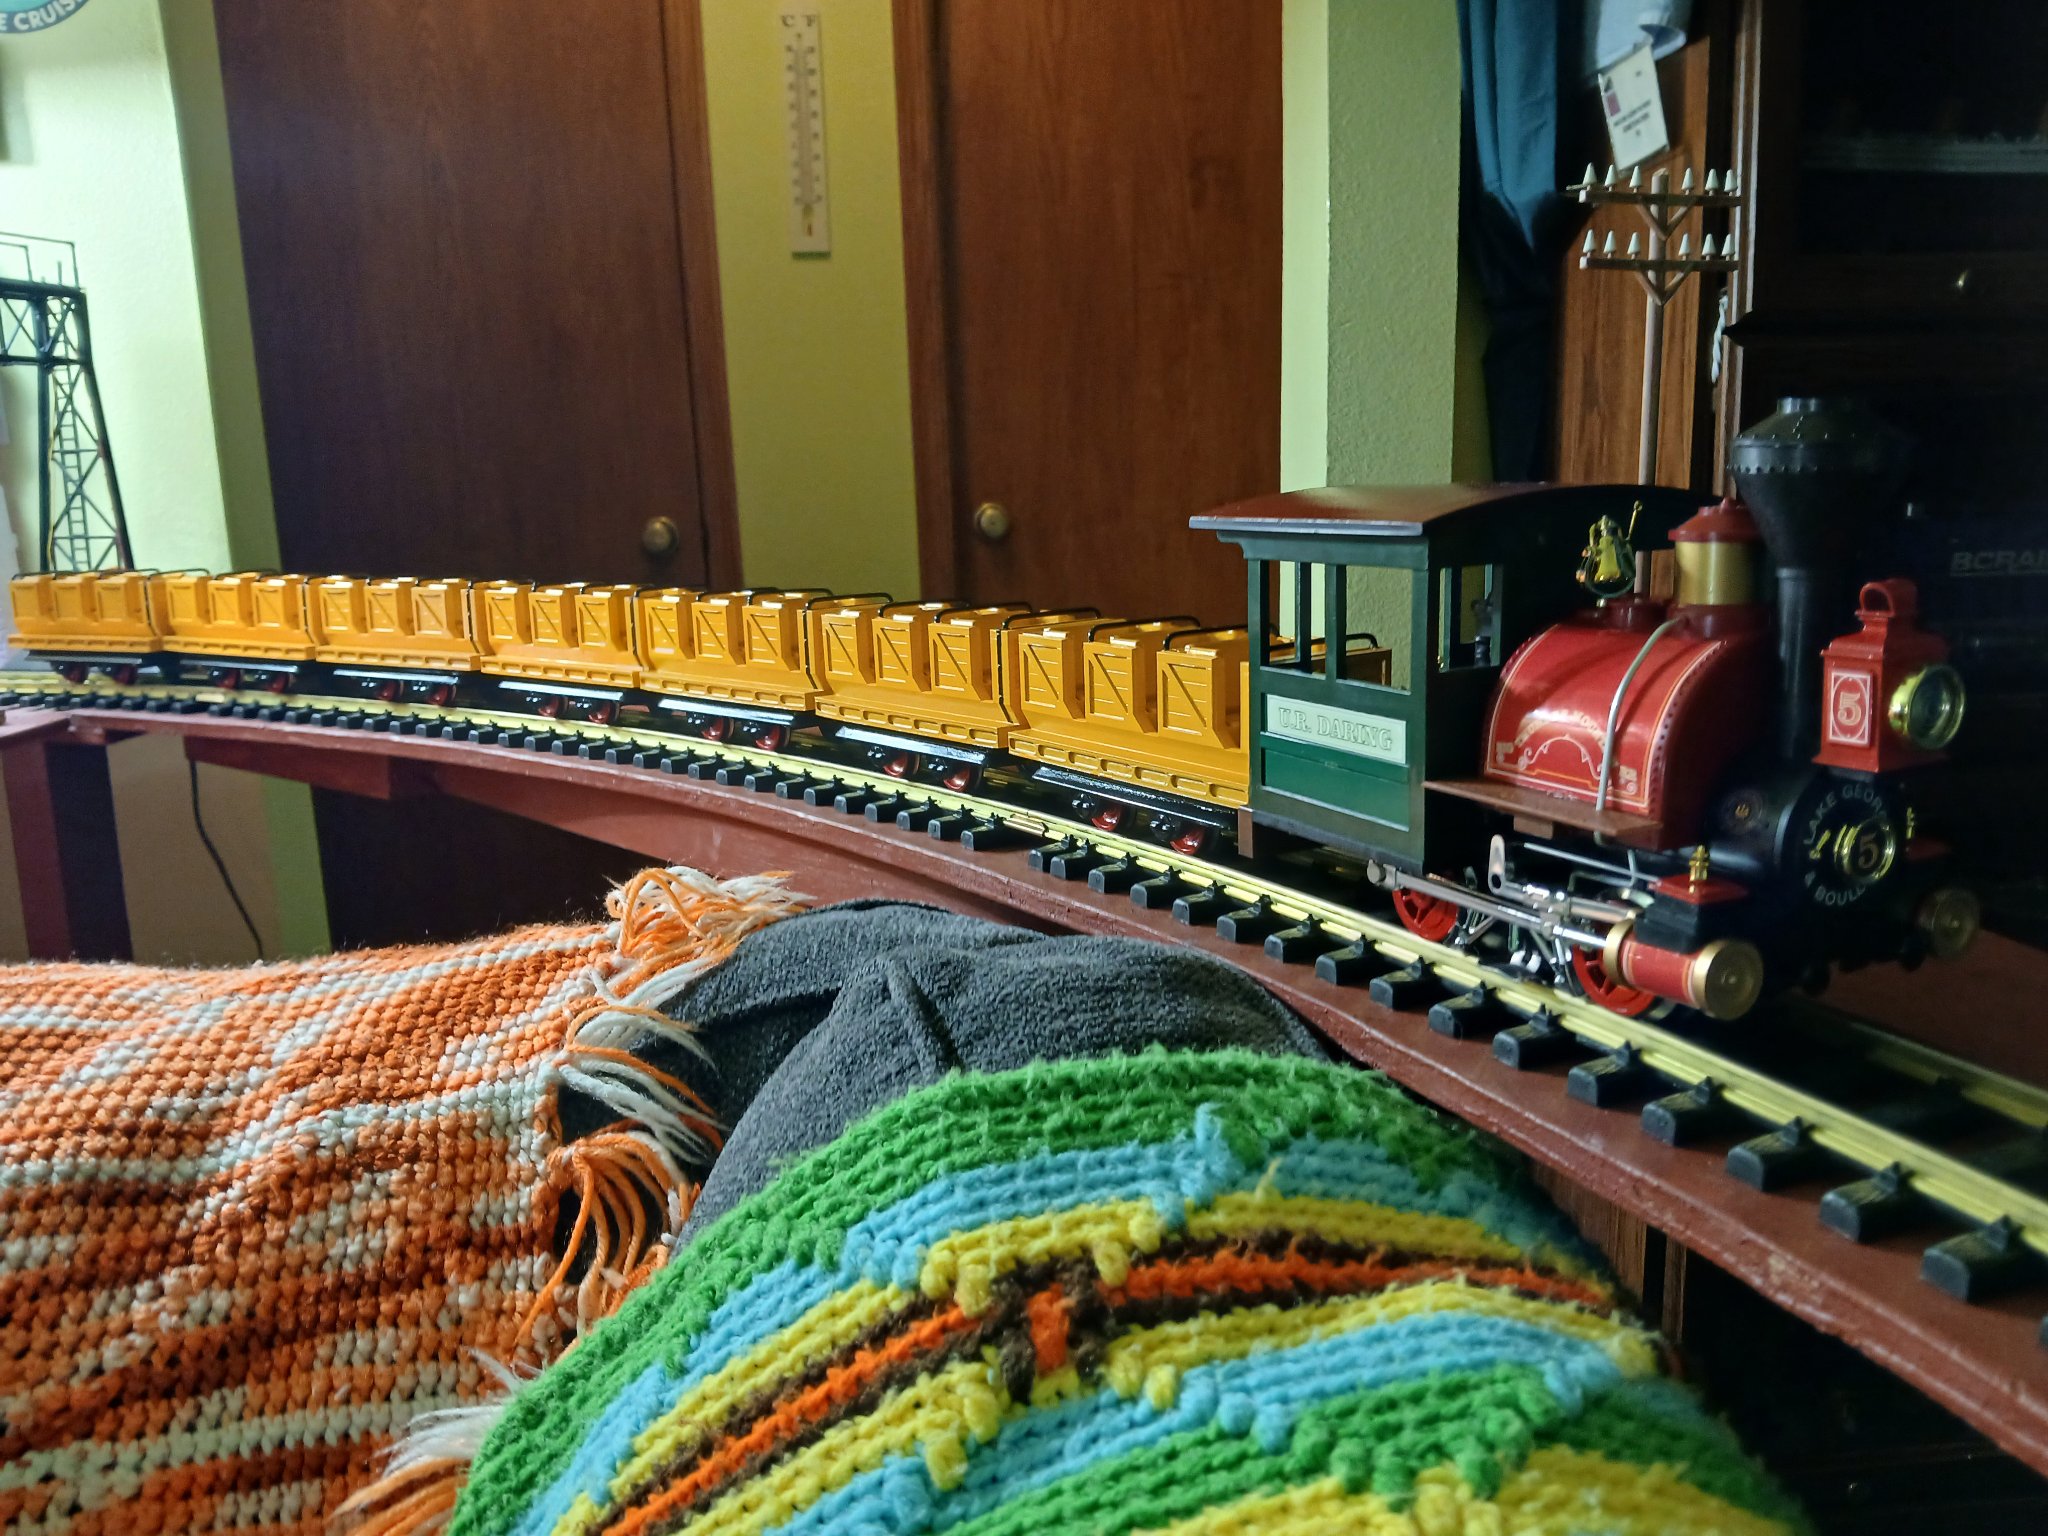
Finally got the wheels on those cars but they barely scrape the body of the ride car underneath. So gotta figure that out.
I also think that coupling the cars together will be an issue as well because these are 3D printed and have odd coupler brackets that don't seem to fit any brand of couplers.