cbeckett
Osier & Woodhurst (UK), Gosnells Extension (OZ)
The tale of lost, broken and replacement buildings! I haven`t quite got the hang of inserting pictures, but the descriptions below are pretty self-evident as to which they refer to!
About a year and a half ago, I moved permanently from the UK to Australia. Included in our “sealed, locked, door-to-door” container were 90 boxes of Garden Railway stuff. Strangely, all my Piko and Pola models “disappeared”. As these were early space fillers, I wasn’t too bothered. My scratch-built efforts stayed with me - not good enough for the "container mice", obviously.
For the broken buildings, I swiftly repaired these, but soon learnt that the Australian environment is not conducive to the materials I had used in the UK – substrates, glue, paint etc. I still have a back-log of these to re-re-build!
In my new location, I have less space, so the challenge was to build mainly half-relief buildings, and also some new projects I’d long considered doing. I’ve also used more suitable materials, and where possible, glue-less, relying on the inherent properties of plastic to want to “straighten out” when bent.
I’ve also decided to do these as cheaply as possible, so builders skips etc have been a wonderful resource. I don’t think I’ve spent more than $10 on any of the models pictured below.
I find scratch-building is very satisfying v kits. OK, it takes hours, but the end product is unique (not always perfect) and I’ve learn’t a lot of new skills along the way.
A member of my Model Club is encouraging me to make bespoke models for sale – I’m up to any challenge – but the marketing pricing, and time-pressure just seems like a lot of hassle.
Anyhow – a selection of recent models:-
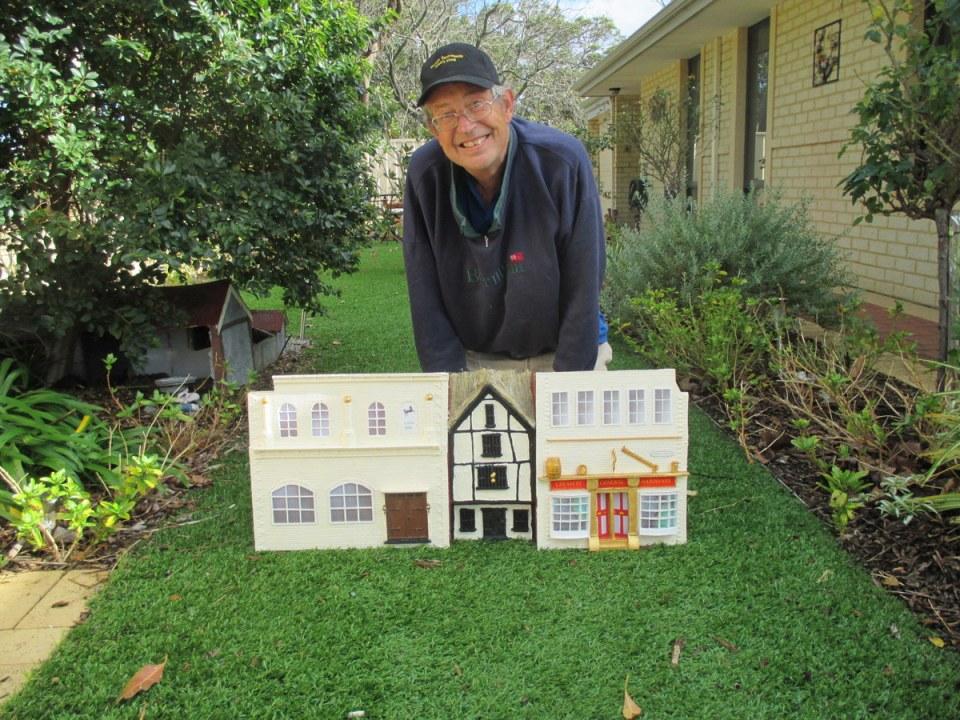
Back-drop of three banking buildings for my internal tramway model. Loosely based on “Bank Plain” in Norwich.
Not complete, but a “Kew Gardens” inspired orangery – my wife will make the plants. This one has no glue, and when finished, will be held together by four white tie wraps – and tension!
 
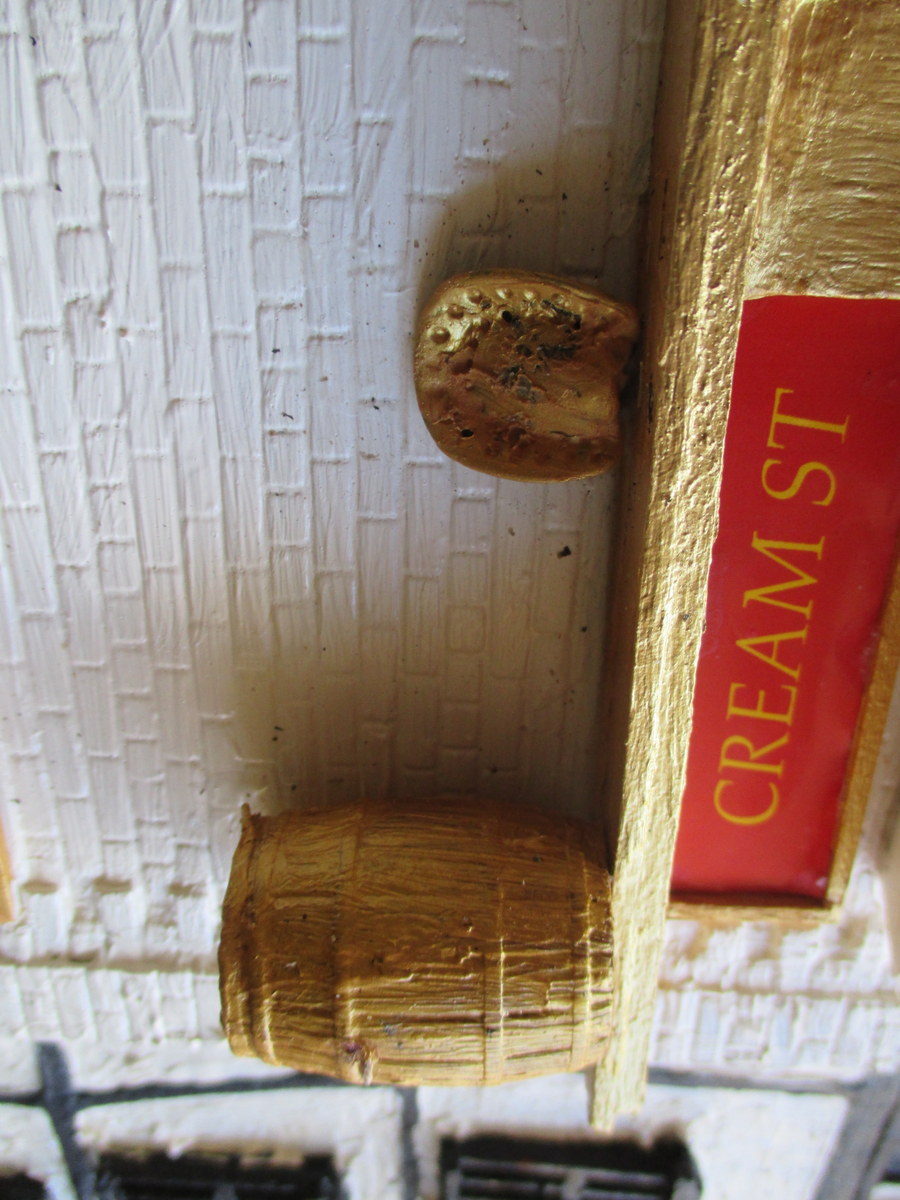
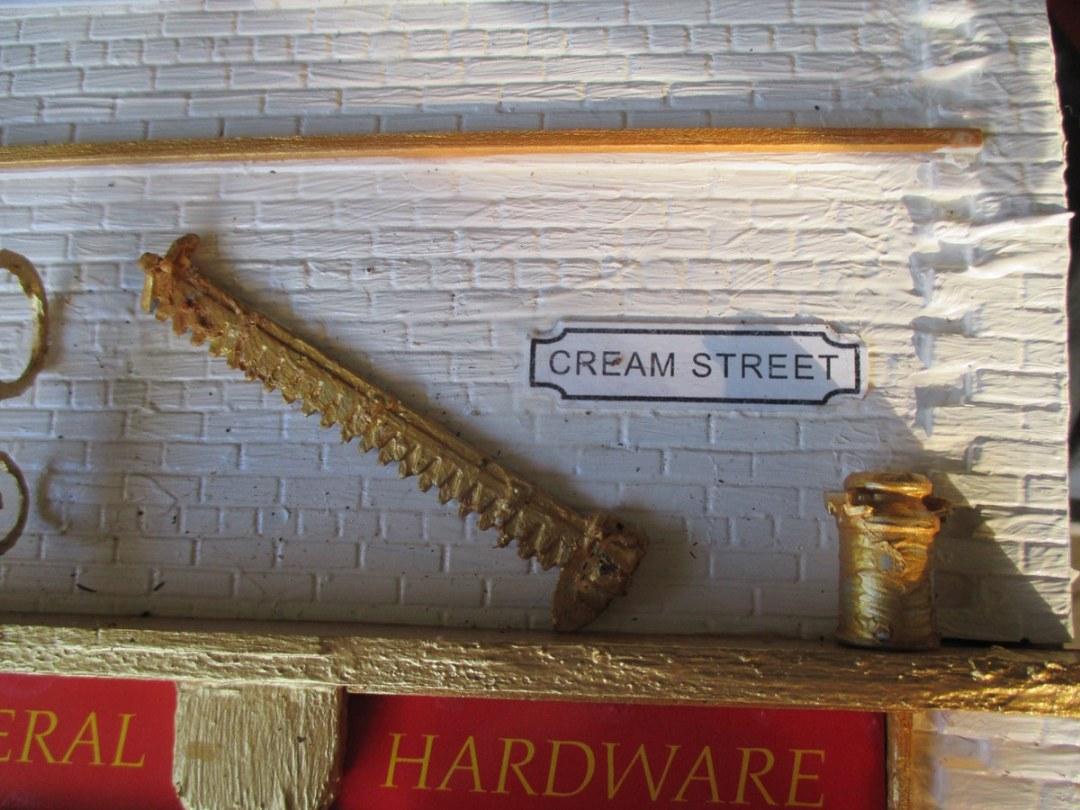
Details from the Bank buildings – this Georgian one converted to a hardware store, with samples of it’s’ wares above the windows.
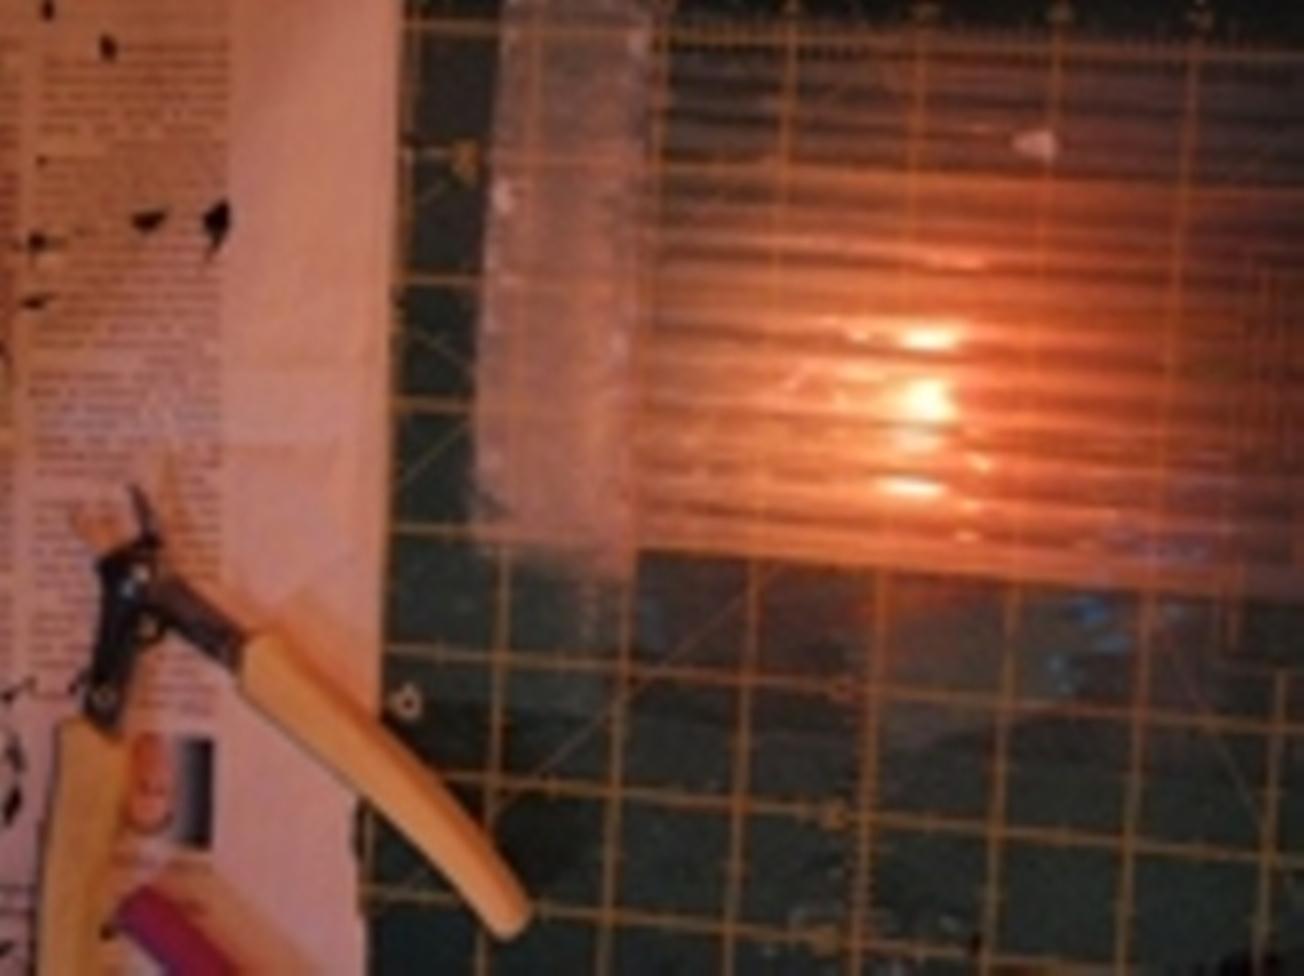
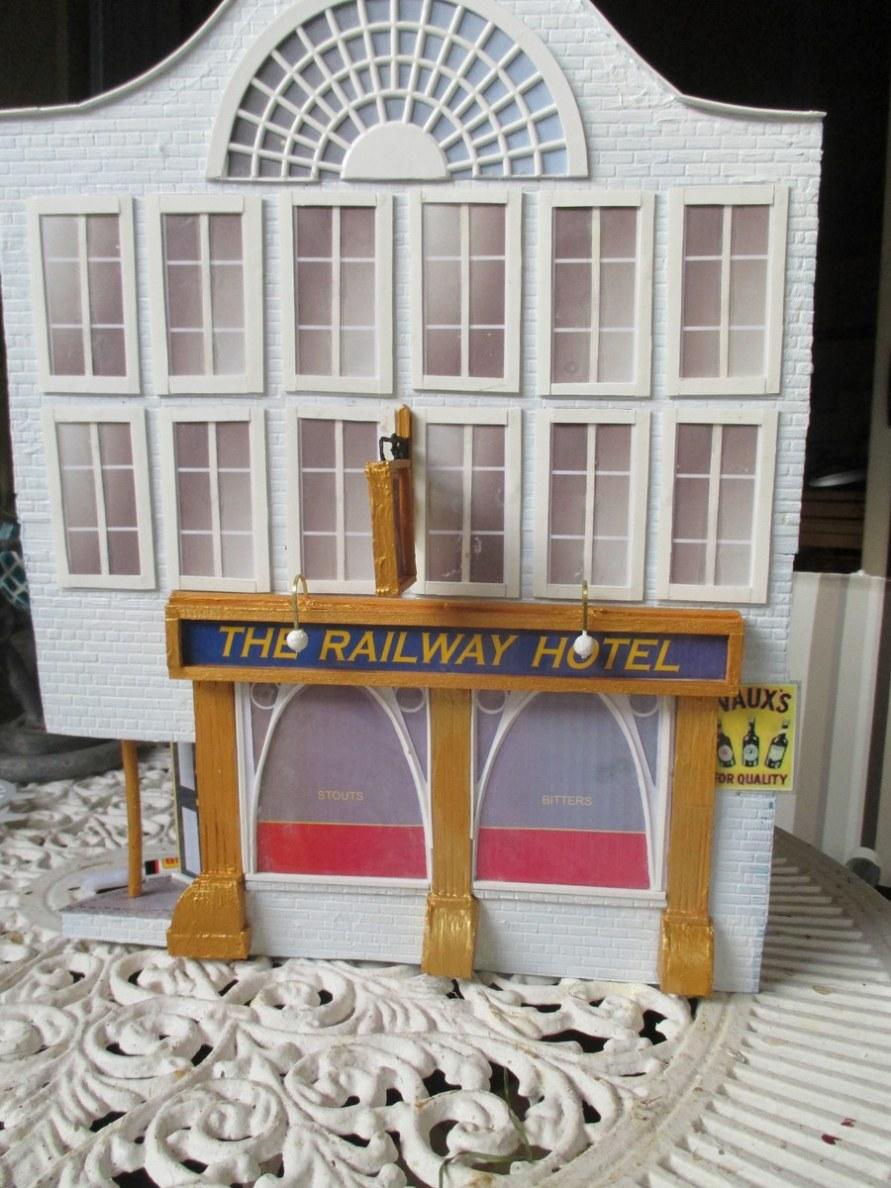
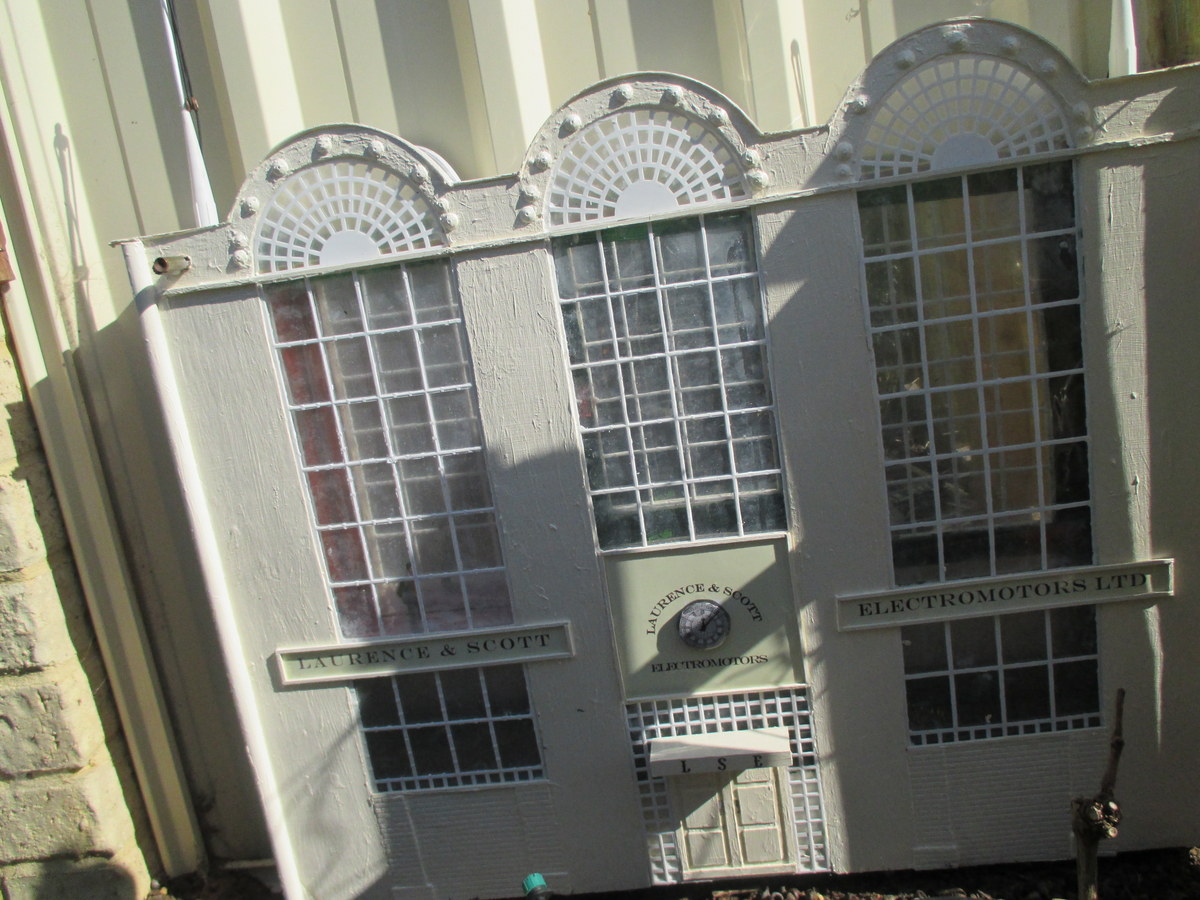
Then “The Railway Hotel”, a corner building. About 18” high. There is a 24" square light engineering works from Norwich (LSE), using a back mirror for interesting light effects, and solar lighting at night.
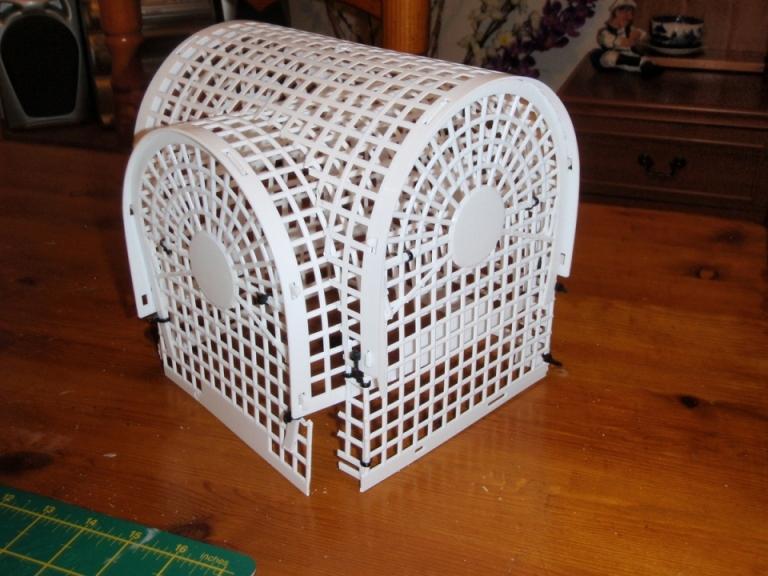
A not-very-good-snap a lock-up garage. I haven’t taken photographs of the boat-building yard, the lumber yard or piggeries! They all use the same curved roof technique. I hope this is of interest – you can zoom in on the photos to get a better look!
About a year and a half ago, I moved permanently from the UK to Australia. Included in our “sealed, locked, door-to-door” container were 90 boxes of Garden Railway stuff. Strangely, all my Piko and Pola models “disappeared”. As these were early space fillers, I wasn’t too bothered. My scratch-built efforts stayed with me - not good enough for the "container mice", obviously.
For the broken buildings, I swiftly repaired these, but soon learnt that the Australian environment is not conducive to the materials I had used in the UK – substrates, glue, paint etc. I still have a back-log of these to re-re-build!
In my new location, I have less space, so the challenge was to build mainly half-relief buildings, and also some new projects I’d long considered doing. I’ve also used more suitable materials, and where possible, glue-less, relying on the inherent properties of plastic to want to “straighten out” when bent.
I’ve also decided to do these as cheaply as possible, so builders skips etc have been a wonderful resource. I don’t think I’ve spent more than $10 on any of the models pictured below.
I find scratch-building is very satisfying v kits. OK, it takes hours, but the end product is unique (not always perfect) and I’ve learn’t a lot of new skills along the way.
A member of my Model Club is encouraging me to make bespoke models for sale – I’m up to any challenge – but the marketing pricing, and time-pressure just seems like a lot of hassle.
Anyhow – a selection of recent models:-
Back-drop of three banking buildings for my internal tramway model. Loosely based on “Bank Plain” in Norwich.
Not complete, but a “Kew Gardens” inspired orangery – my wife will make the plants. This one has no glue, and when finished, will be held together by four white tie wraps – and tension!
 
Details from the Bank buildings – this Georgian one converted to a hardware store, with samples of it’s’ wares above the windows.
Then “The Railway Hotel”, a corner building. About 18” high. There is a 24" square light engineering works from Norwich (LSE), using a back mirror for interesting light effects, and solar lighting at night.
A not-very-good-snap a lock-up garage. I haven’t taken photographs of the boat-building yard, the lumber yard or piggeries! They all use the same curved roof technique. I hope this is of interest – you can zoom in on the photos to get a better look!

")


")