You are using an out of date browser. It may not display this or other websites correctly.
You should upgrade or use an alternative browser.
You should upgrade or use an alternative browser.
What happened at your workbench today?
- Thread starter Henri
- Start date
casey jones snr
Registered
schienenkönig
I'm a tram enthusiast and have made trams Scale G
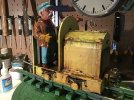
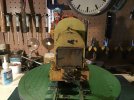
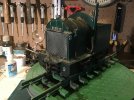
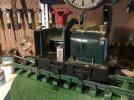
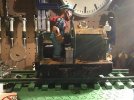
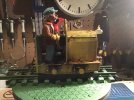
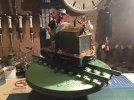
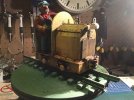
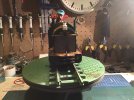
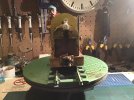
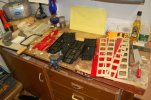
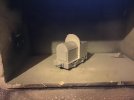
Searched for some pictures of the following tram model. Made some drawings for details. They will be laser cuttings and much better than my hand mades parts. It will be a Hagen (in west Germany) tram and is made for a friend. One of these trams once drove through his garden before it was shut down. Picture was made yesterday.
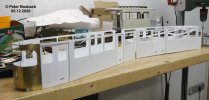
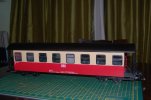
Meanwhile, my friend Wilfried is working on his Wuppertal tram trailer 429.
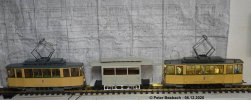

Meanwhile, my friend Wilfried is working on his Wuppertal tram trailer 429.

Last edited:
casey jones snr
Registered
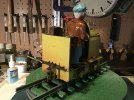
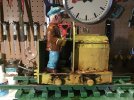
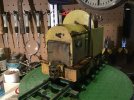
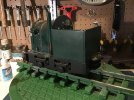
Good question Paul. The first three were kits from a forum member who advertised them a good few years ago. I cannot remember his name. The fourth loco was 3D printed for me.Where did you get the locos from Casey?
musket the dog
Registered
Many thanks for the information, building something like that is not for the faint hearted. Getting it to even work is a job well done. It is also very nice to see one of those beasts running, something rarely seen except perhaps at Beamish where I have been amased at all the wandering and poping up and down bits of rods etc.
Thanks very much Jon, I'm glad it was interesting. It doesn't get to see the light of day much. I have to admit all of the flailing, wandering motion is what drew me in to have a go. I've been thinking quite hard on it the last couple of days now. I think I've got one or to ideas to improve it. I'll be sure to update here when I get around to it
I copied your YT Vid to my friend who is very interested in early locomotives and was also impressed. Trouble is he set me the challenge to do something similar in Live Steam, my thinking cap is in big time at the moment. On the plus side I have a Boiler and a Steam Motor so have a good start if I decided to have a go at something but my thoughts are along the lines if Steam Elephant though the wheels look very tricky.Thanks very much Jon, I'm glad it was interesting. It doesn't get to see the light of day much. I have to admit all of the flailing, wandering motion is what drew me in to have a go. I've been thinking quite hard on it the last couple of days now. I think I've got one or to ideas to improve it. I'll be sure to update here when I get around to it
casey jones snr
Registered
Fezwig
Just a man in the middle of a complicated plan.
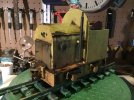
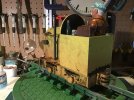
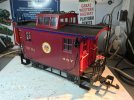
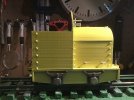
Love the realistic knocked about brew can, chipped enamel and tea stained, err, just like mineThe rust is staring to take hold:-
View attachment 277181View attachment 277182View attachment 277183View attachment 277184View attachment 277185View attachment 277186
I used gun bluing to activate the power to produce the rust.View attachment 277187
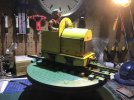
I now need to start on another locomotive.
Fezwig
Just a man in the middle of a complicated plan.
Fezwig
Just a man in the middle of a complicated plan.
casey jones snr
Registered
Finally got around to modifying a LGB double slip. I always wanted one that would act as a crossover from both directions or allow a train to change direction from both directions. I knew Gizzy had modified one to make a crossover permanently but I wanted one that was controllable. There is an example at Beamish on the standard gauge section (see photo).
To do this requires some modifications and the use of four point motors. I removed the linkages and replaced then with some 2mm threaded rod, locknuts and some brackets fashioned from LGB sleepers. Using four DCC point decoders I got it working. See the video.
Geoff
To do this requires some modifications and the use of four point motors. I removed the linkages and replaced then with some 2mm threaded rod, locknuts and some brackets fashioned from LGB sleepers. Using four DCC point decoders I got it working. See the video.
Geoff
Attachments
FatherMcD
Registered
I have two of these that I would like to modify as you have. Would you post some close up pictures of how you modified the linkage to the points? Thanks, KenFinally got around to modifying a LGB double slip. I always wanted one that would act as a crossover from both directions or allow a train to change direction from both directions. I knew Gizzy had modified one to make a crossover permanently but I wanted one that was controllable. There is an example at Beamish on the standard gauge section (see photo).
To do this requires some modifications and the use of four point motors. I removed the linkages and replaced then with some 2mm threaded rod, locknuts and some brackets fashioned from LGB sleepers. Using four DCC point decoders I got it working. See the video.
Geoff
I'm sure I'm missing something here (it wouldn't be the first time) but why do you need four point motors ? I have a hand thrown double slip (not LGB) and it only needs two point levers to be able to set all routes. Your picture of the Beamish slip shows only two point levers also. Is this something peculiar to the LGB unit?Finally got around to modifying a LGB double slip. I always wanted one that would act as a crossover from both directions or allow a train to change direction from both directions. I knew Gizzy had modified one to make a crossover permanently but I wanted one that was controllable. There is an example at Beamish on the standard gauge section (see photo).
To do this requires some modifications and the use of four point motors. I removed the linkages and replaced then with some 2mm threaded rod, locknuts and some brackets fashioned from LGB sleepers. Using four DCC point decoders I got it working. See the video.
Geoff
Phil
casey jones snr
Registered
Chris Vernell
45.29 N, 75.75 W
My workbench? Today? Maybe the spiders were playing. I was otherwise employed  .
.
My work bench is out of bounds! No2 Child is using it for university workMy workbench? Today? Maybe the spiders were playing. I was otherwise employed.

