You are using an out of date browser. It may not display this or other websites correctly.
You should upgrade or use an alternative browser.
You should upgrade or use an alternative browser.
What happened at your workbench today?
- Thread starter Henri
- Start date
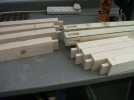
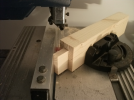
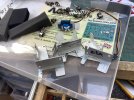
Nothing today as yet, but yesterday I made up some more Servo Holders for my 00 Coal Mine Railway and drilled them all out to take 10ba screws to hold them in place and for the screw holes to secure to baseboards. Much use of the reliable trusty vertical drill being made for this. Also looked at the possibility of (sadly) replacing my Cobolt Levers (which look and feet great but are carp) with Micro on/off switches which work perfectly. Via the MegaPoints servo board that I have.

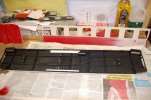
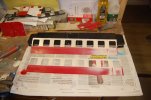
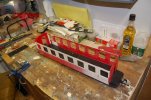
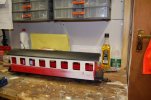
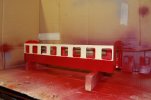
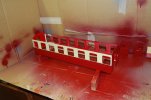
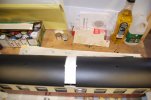
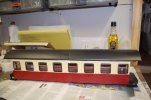
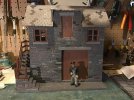
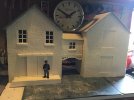
Looks a good job but struggling to understand why you hand splashed the creme? My last 2 tone project was a Railcar, sprayed first all over creme. Then masked for the red, another spray on the bottom of creme, allow to dry then do the red. What the second creme does is properly seal the masking tape from bleed through. A tip from someone on this site that I struggled to get my head round but now I have it works perfect every time.Now the task I find most stressful for some reason, Painting!can make or break a model, any how, brush painted the cream upper on Monday and today sprayed the red, I think it's turned out ok,
View attachment 275638
View attachment 275639
Fezwig
Just a man in the middle of a complicated plan.
Hi Jon,Looks a good job but struggling to understand why you hand splashed the creme? My last 2 tone project was a Railcar, sprayed first all over creme. Then masked for the red, another spray on the bottom of creme, allow to dry then do the red. What the second creme does is properly seal the masking tape from bleed through. A tip from someone on this site that I struggled to get my head round but now I have it works perfect every time.
Well I bought some cream spray but it was more "off white" so I used it as under coat and as I had tin of the right shade of cream, I used that. I like the spray method you use, will give it a go on the next one, with the right shade of cream!
Northsider
Modelling the Northern half of the Isle of Man
Chris Vernell
45.29 N, 75.75 W
Not sure you want a touch anywhere near gunpowderDid a touch more on my gunpowder van
casey jones snr
Registered
That's impressive, I'll have to look out for it, if we ever get back to exhibitions
casey jones snr
Registered
casey jones snr
Registered
casey jones snr
Registered
Portsladepete
Registered
Just fitted my little rail car/ tram with £5 radio control. My battery operated tram has the switch inside, so it’s very awkward to stop, especially if it’s misbehaved.
Saw a thread about using led dimmer control, mine cost £4.97 from flea bay. It’s supposed to have 12-24 volt supply, I’m only using 9 volts as the motor is rated at 3-4.8 volts, so the control is hit and miss, but it does work!
Probably old news to the experts, but if there’s any cheapskate beginners like me ,could be useful.
The joy of stopping it without giving it an intimate examination is untold.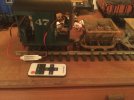

Rhinochugger
Retired Oik
While, I've learned something today - LGB really stands for Lego Gross BahnLock-down 2 is obviously starting to affect my judgement..!
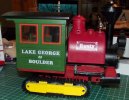
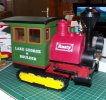
LGB porter / Lego / Mechano log hauler project.
The first assessment dry run.
IT BEGINS..!
Paul.
View attachment 276070View attachment 276071View attachment 276072
Paul2727
Registered
Be advised: I never take my medication and only use the chainsaw for the really fine work...Somebody has not been taking his medication.... - Again!
Log hauler? Forget the razor-saw... You're gonna need a
View attachment 276075
On a more serious note, this does look like it should be do-able. Needs about 50 mm boiler and saddle extension, rear bunker and side doors fabricating. Reduce cat tracks to 2 cog length. Oh and a proper chassis. Not sure it I'll go for iron wheels or skis on the front yet. Hopefully I can get a reasonable approximation of a Lombard Steam Log Hauler: Circa; 1907. (Minus the chicken shed and bus stop.) Won't be counting the rivets, as long as it look right, will do me. Definitely a post move project. Just wanted to get some idea of what could be achieved with the remaining contents of my spares / toy box. Found a nice Playmobil front axle and steering wheel, left over from my rail-truck conversion that may be just the ticket for a wheeled front end.
paul.
Last edited:
Paul2727
Registered
Really..? I thought it meant Lets Go Bananas..!While, I've learned something today - LGB really stands for Lego Gross Bahn

